Get the most out of the blue hour with these tips!
As much as I favor the Golden Hour, there is also so much beauty to be found in the hour that follows – the blue hour. The blue hour is the period of twilight in the late dusk each evening, or the very dawn of the morning, when the sun is at a significant distance below the horizon and the residual, indirect sunlight takes on a predominantly blue hue.
In this light, images come to life in a different way. In the deep and grainy depth of the post sunset sky, tones and color are rede ned in a lovely, timeless style that gets right to the emotion of the moment.
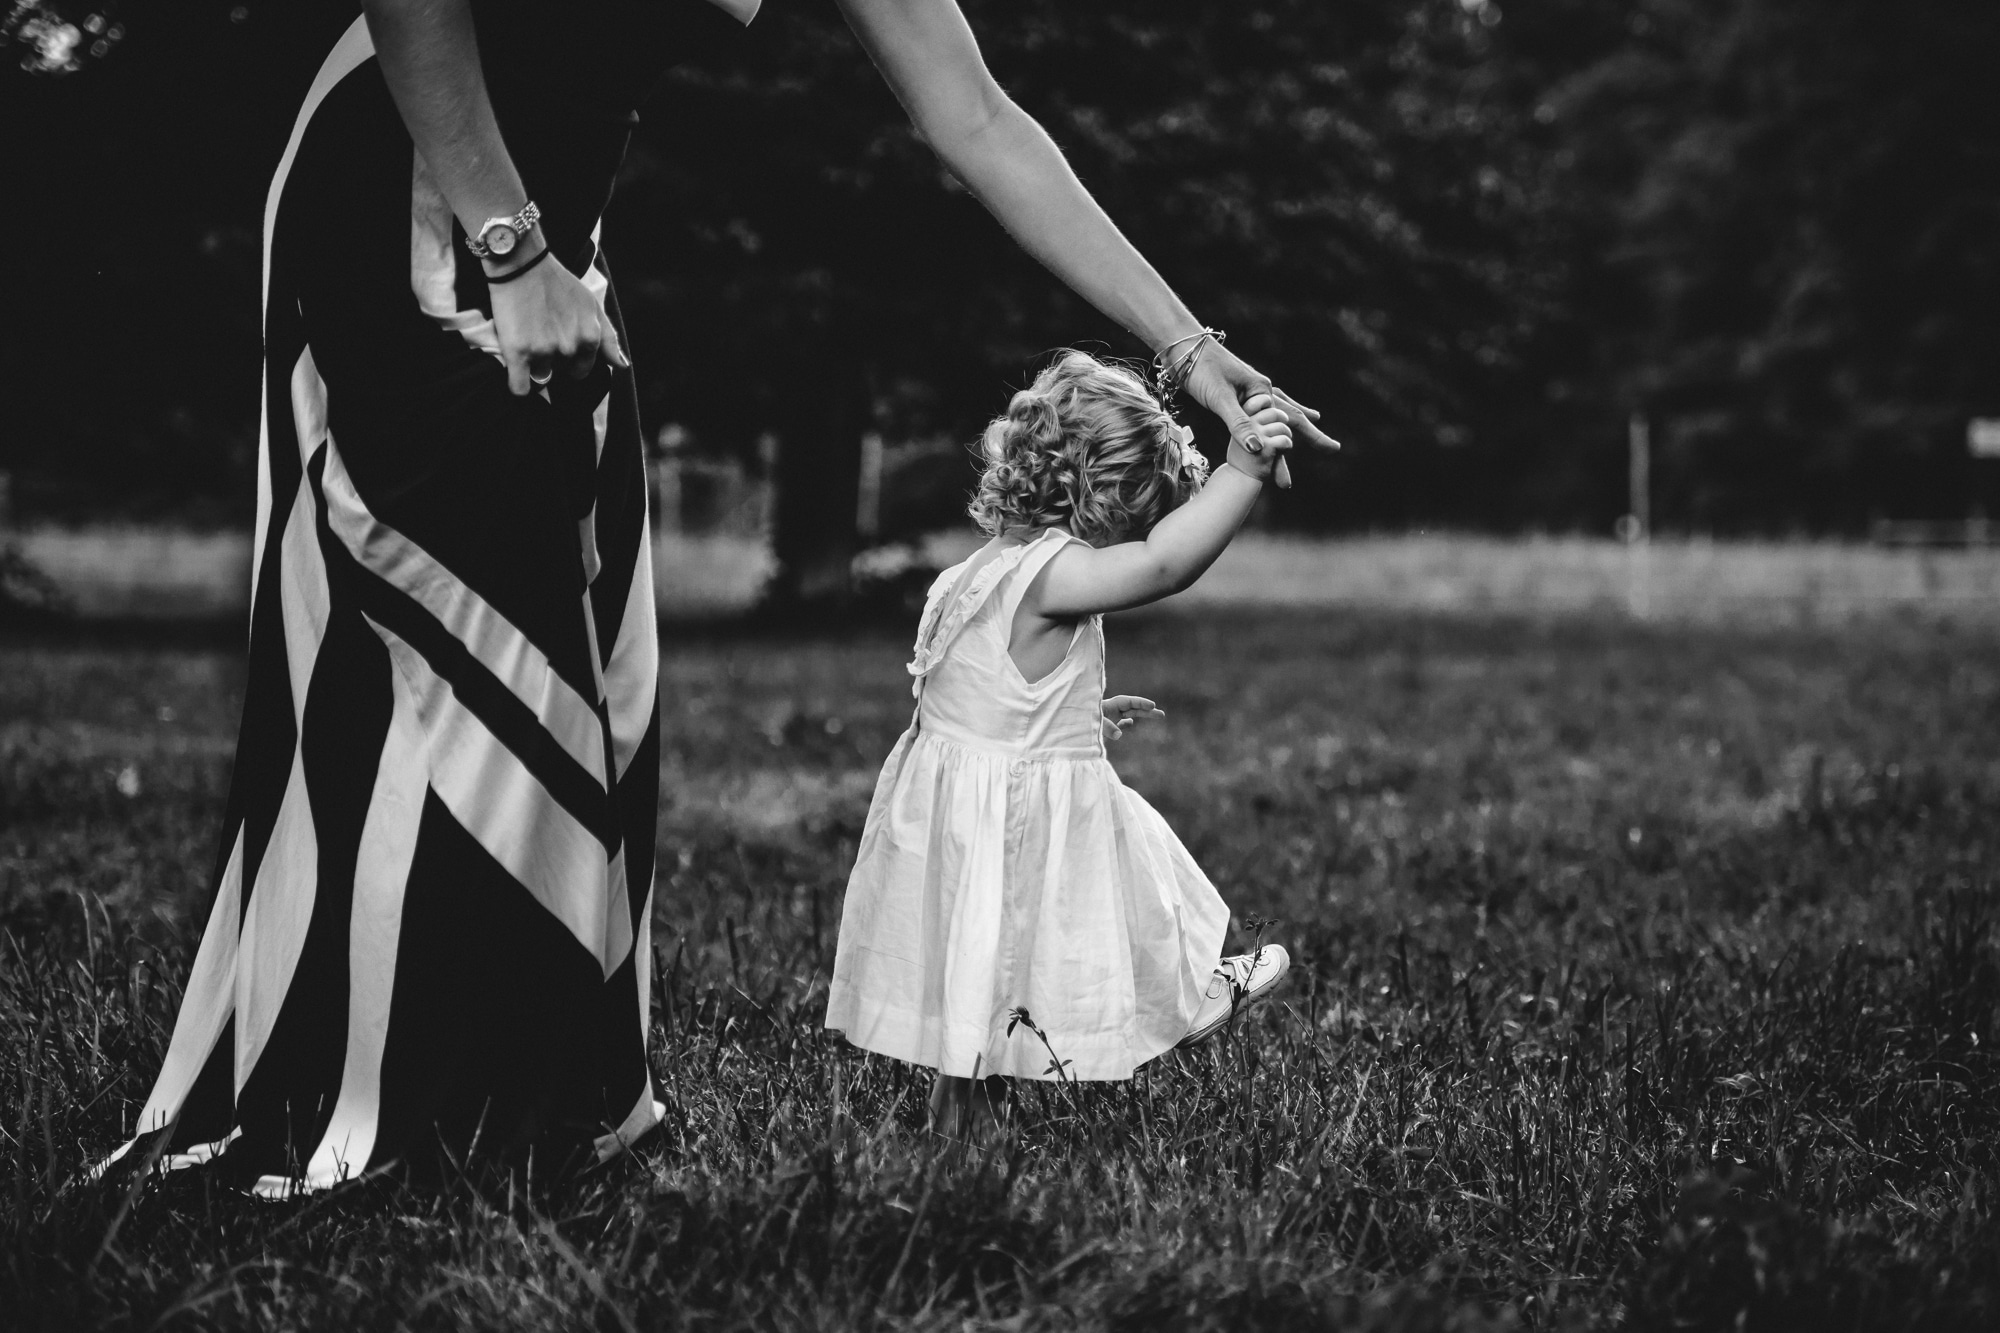
There is also a wonderful luminosity to this light. A luminosity that lends itself beautifully to black and white images. I often like to start my sessions during the golden hour and finish in the blue hour, so that I can take advantage of this light to create some powerful black and white images.
Landscape photographers often shoot during this time of day for these etherial qualities, and I believe portrait photographers can benefit from this luminous high quality light as well!
However, blue hour sessions are risky – light disappears so quickly! But with every risk comes reward.
Here are ten tips to help you get the most out of the blue hour:
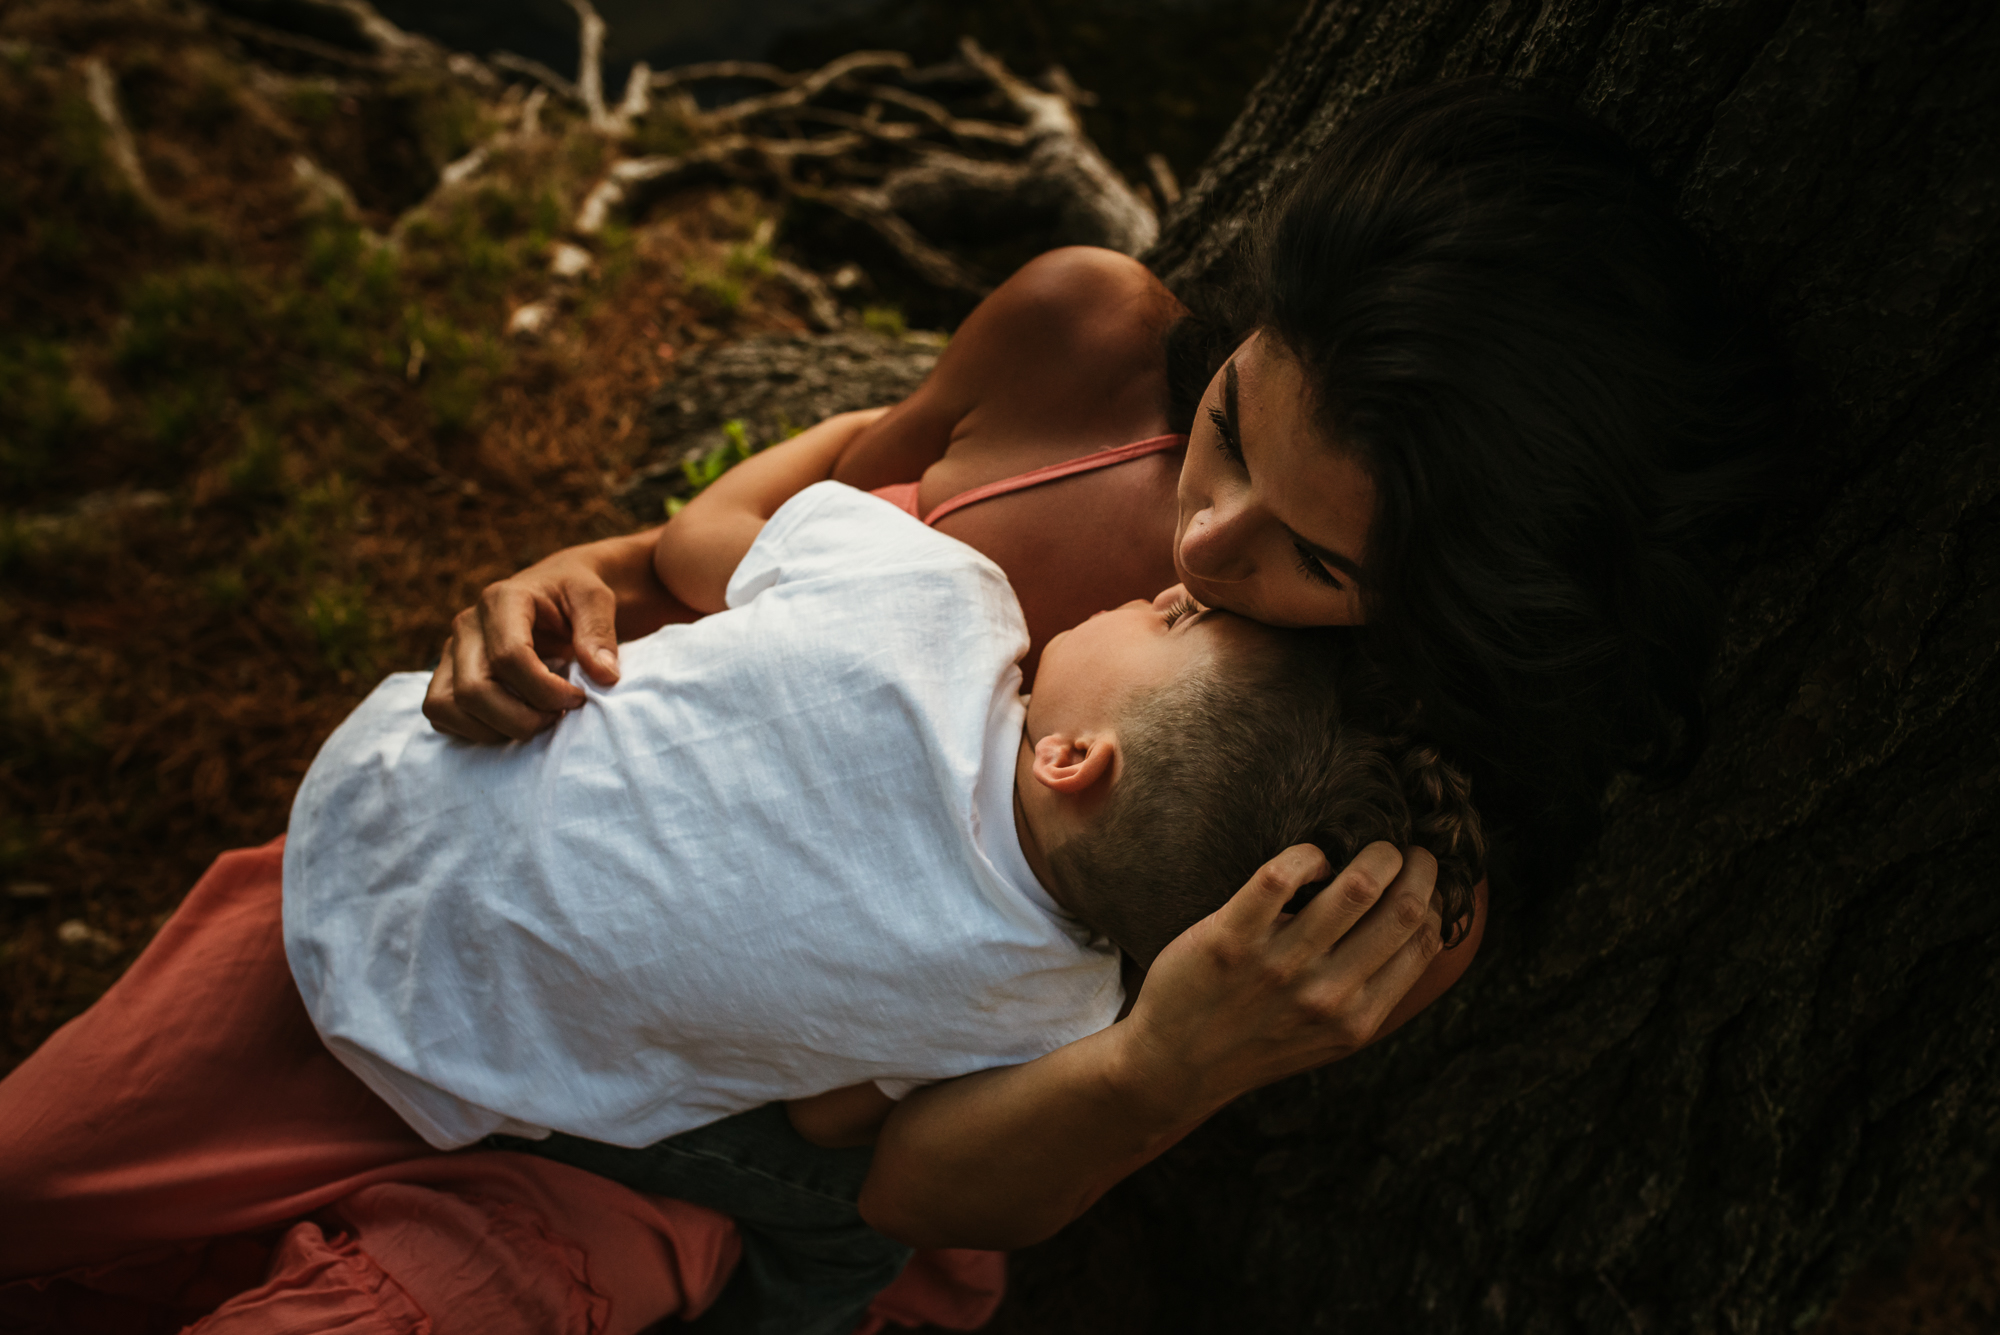
1. Look For Wide Open Spaces Towards Where The Sun Has Set
You will need to utilize every bit of light that is available to you so it’s best to shoot toward where the sun has set and it helps to have a wide open space in front of you. That being said, it can be really pretty to have trees to your back or something that creates a steep light fall-off. This creates a beautiful contrast to your images that can be especially beautiful when converting to black and white.
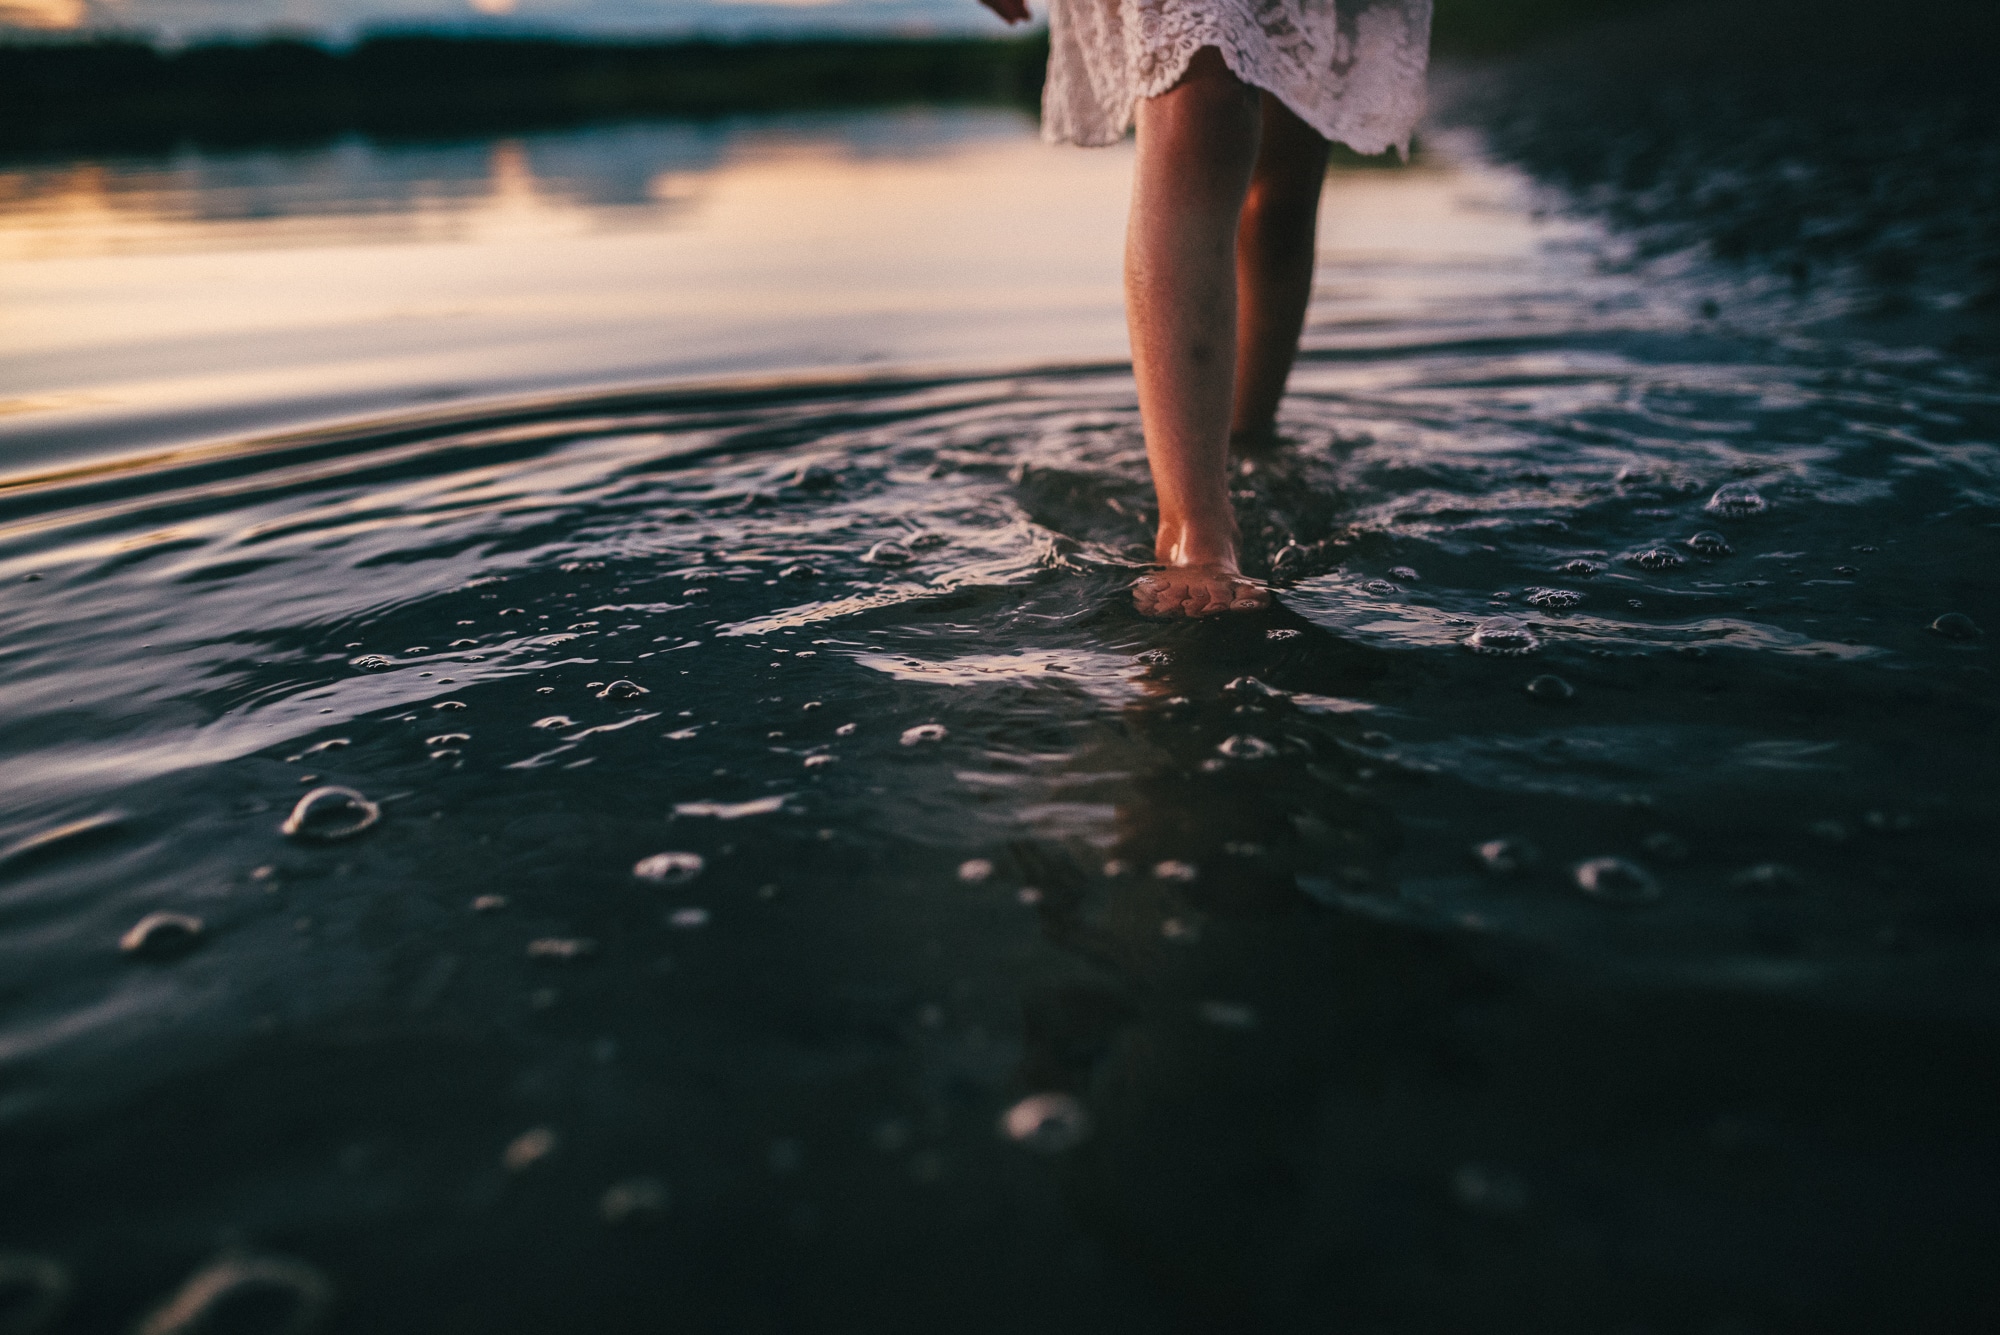
2. Use Reflective Surfaces
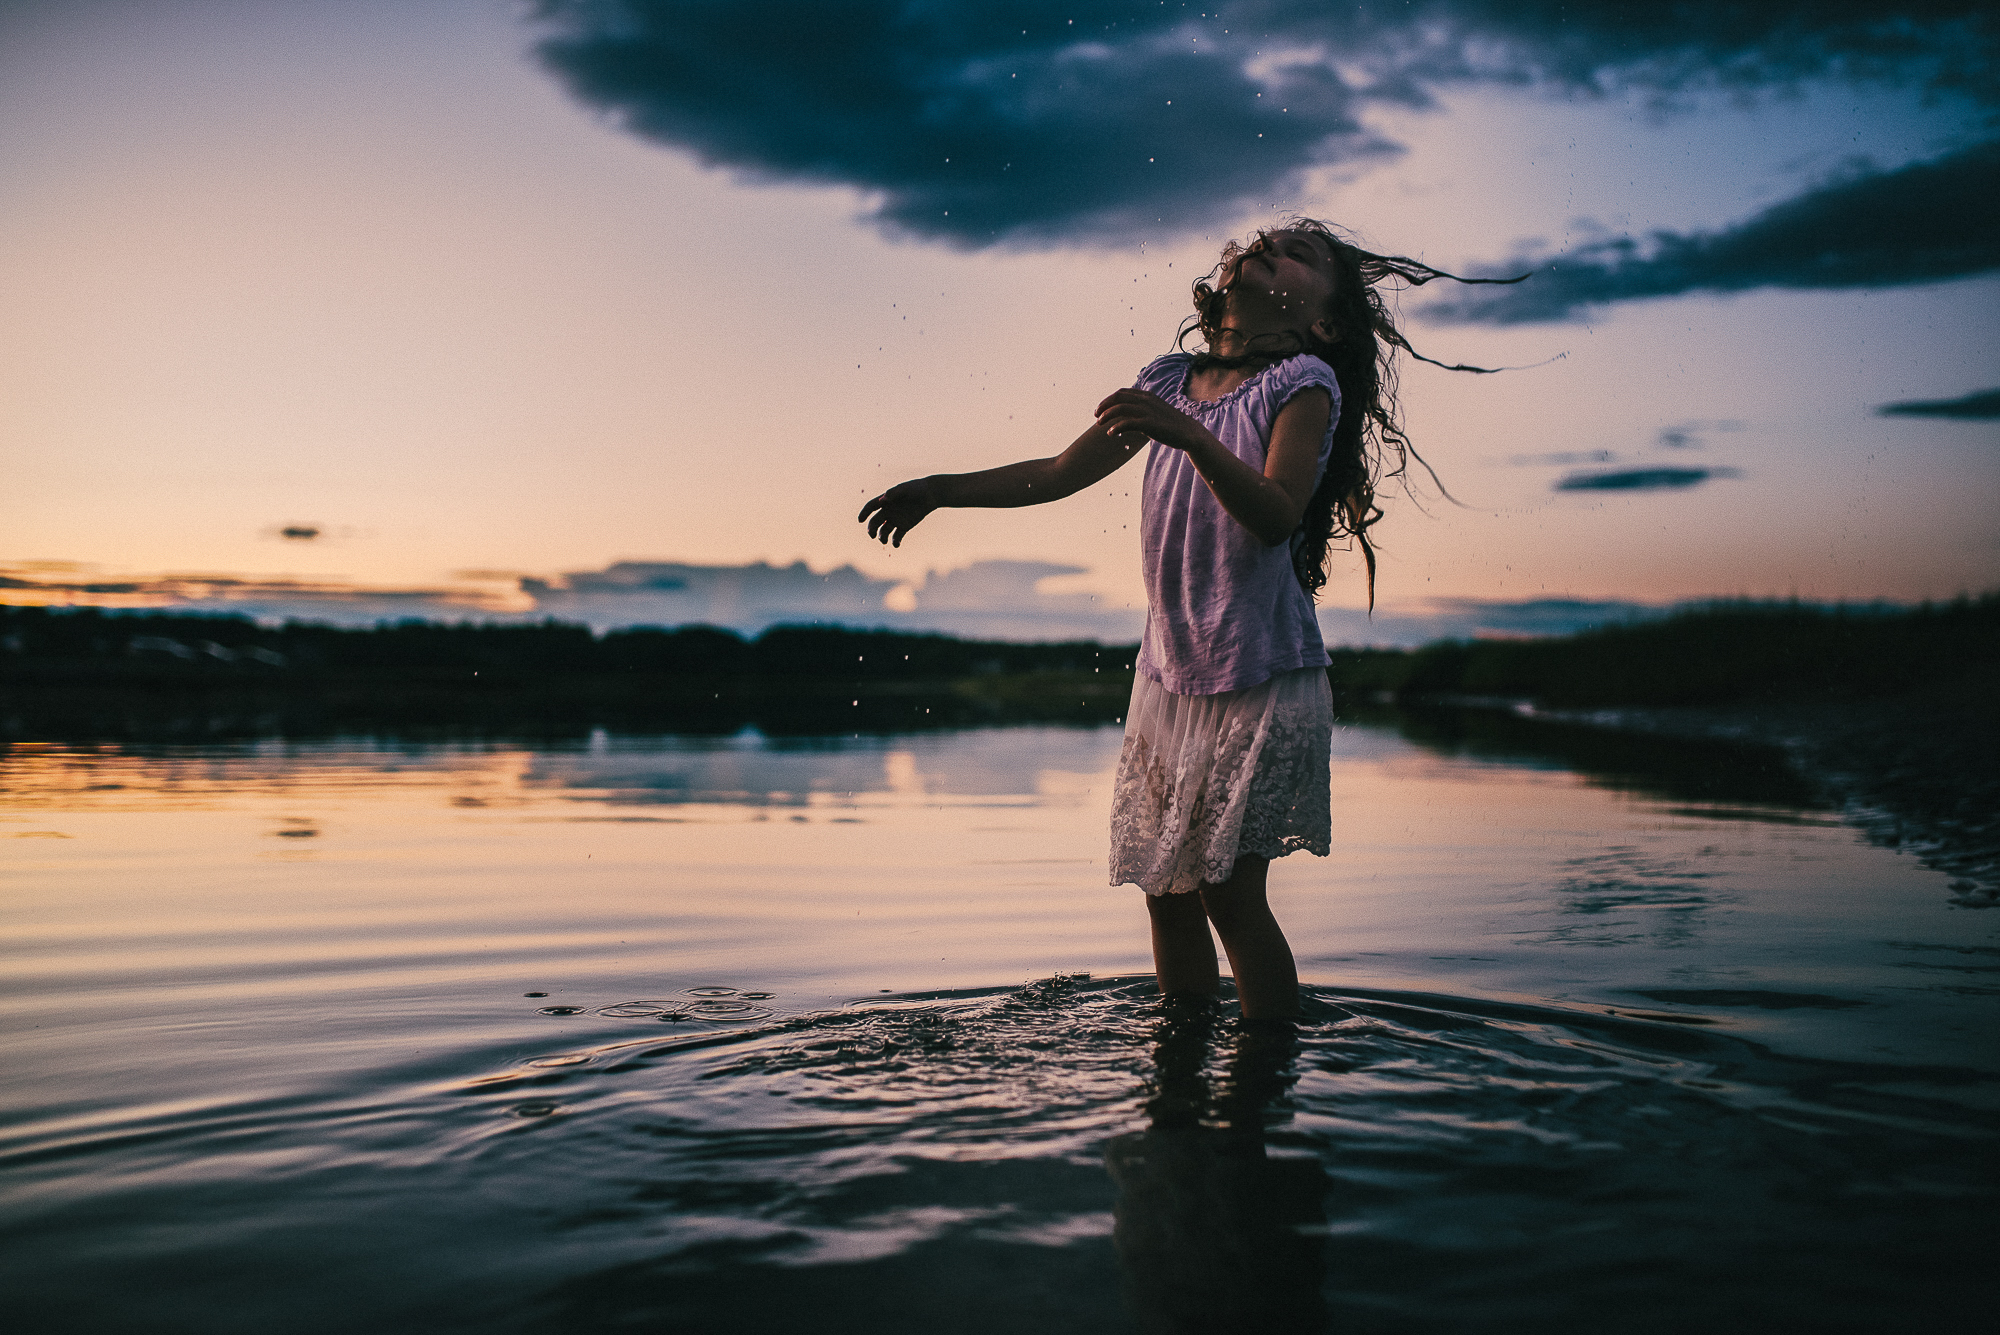
My favorite blue hour sessions always include water. The reflections of the light on water during this time of day are absolutely soft, luminous and stunning. After the sun goes down, water also has a stillness to it that is truly magical.
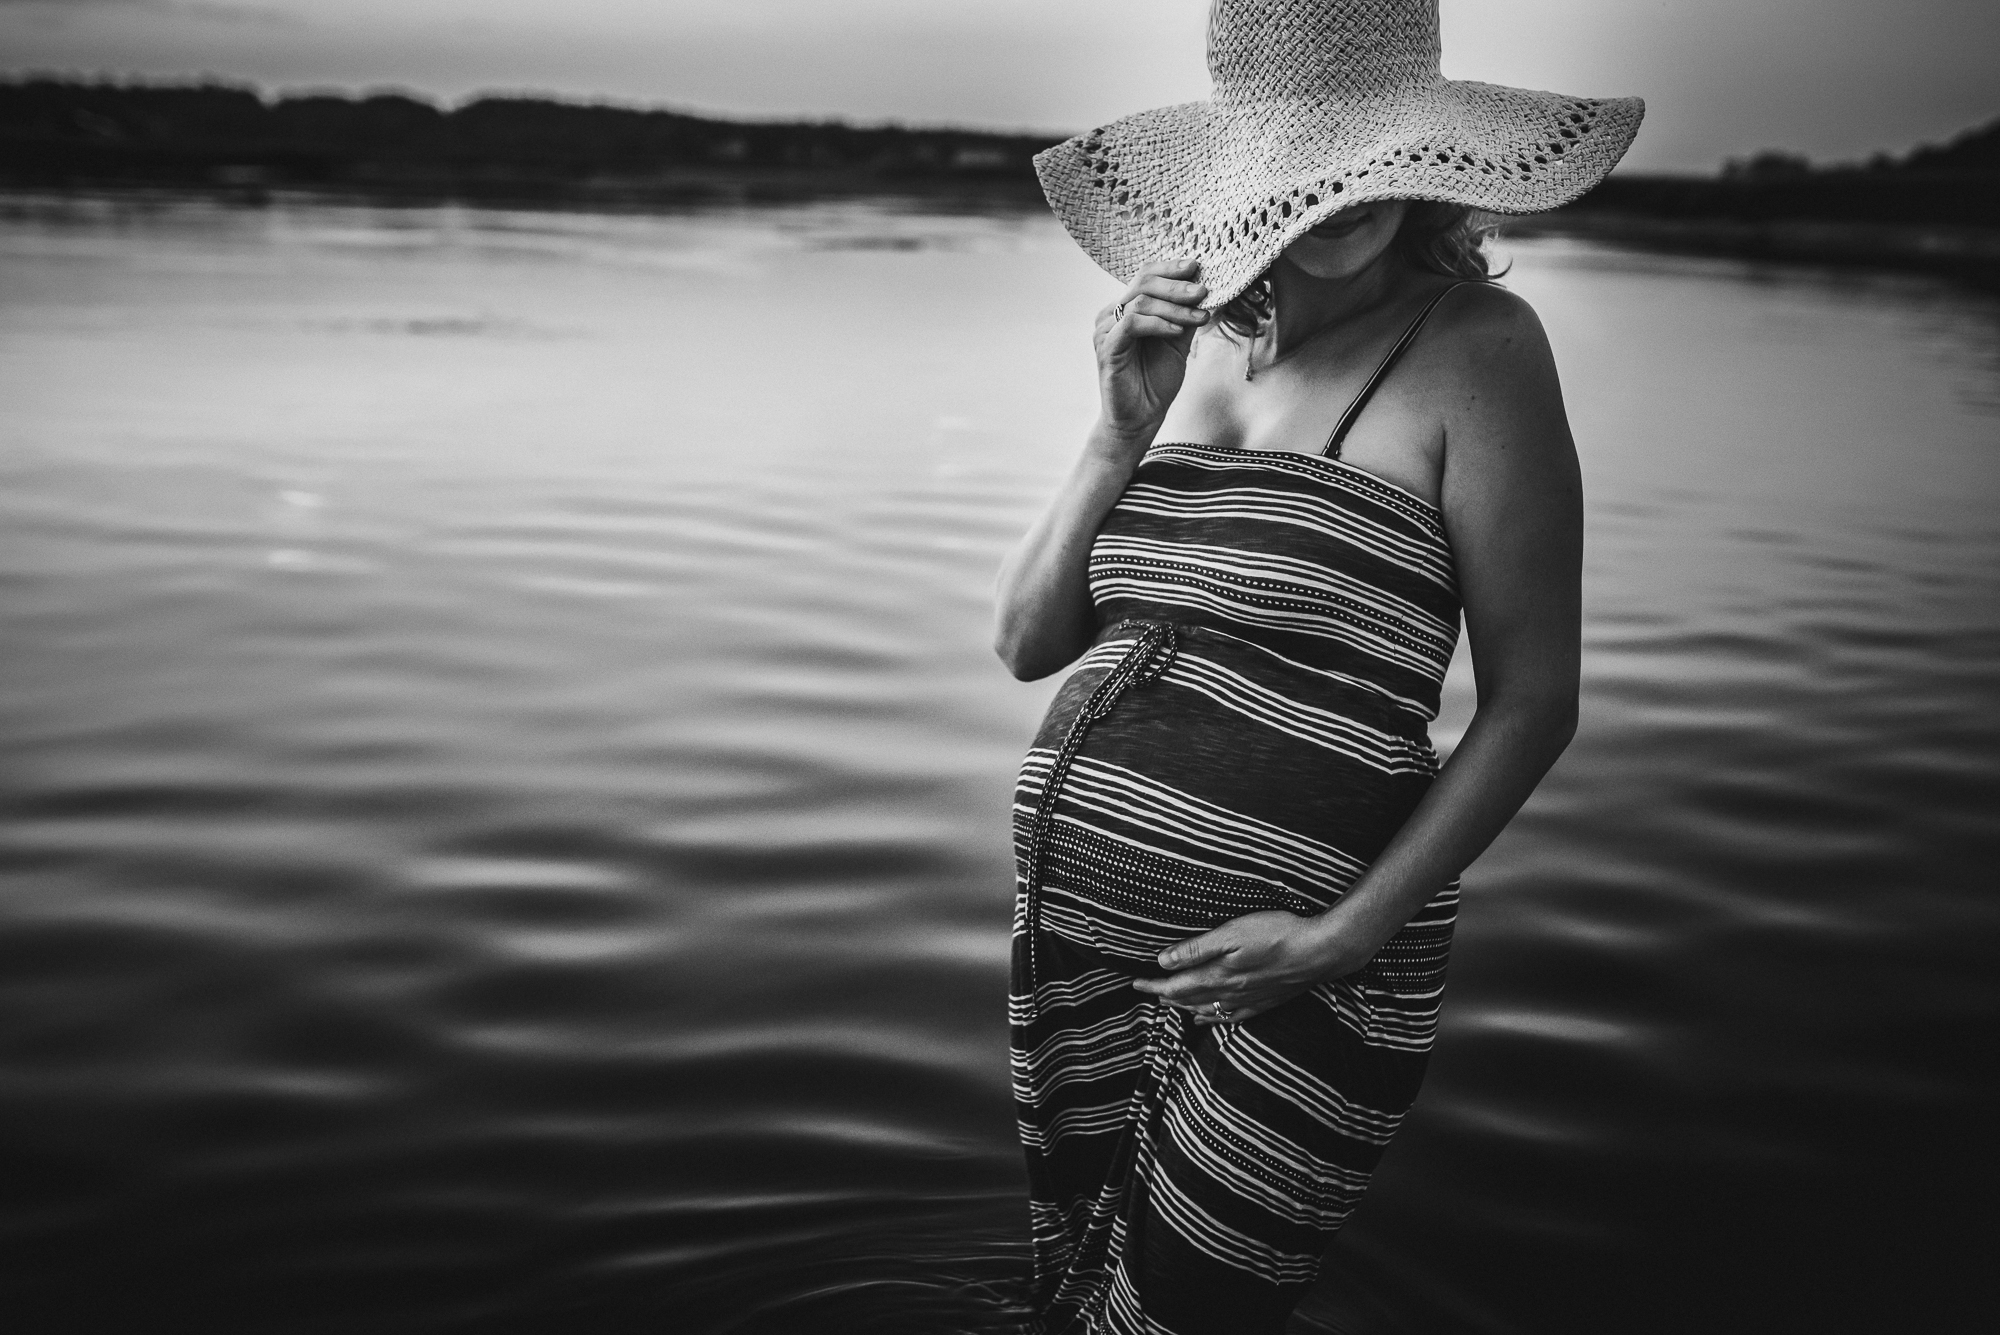
3. Be Sure To Shoot In RAW
Given the complexities around shooting in such low light you will want to be sure to shoot in RAW so that you will have the highest quality image possible. This will also give you the most creative freedom when editing.
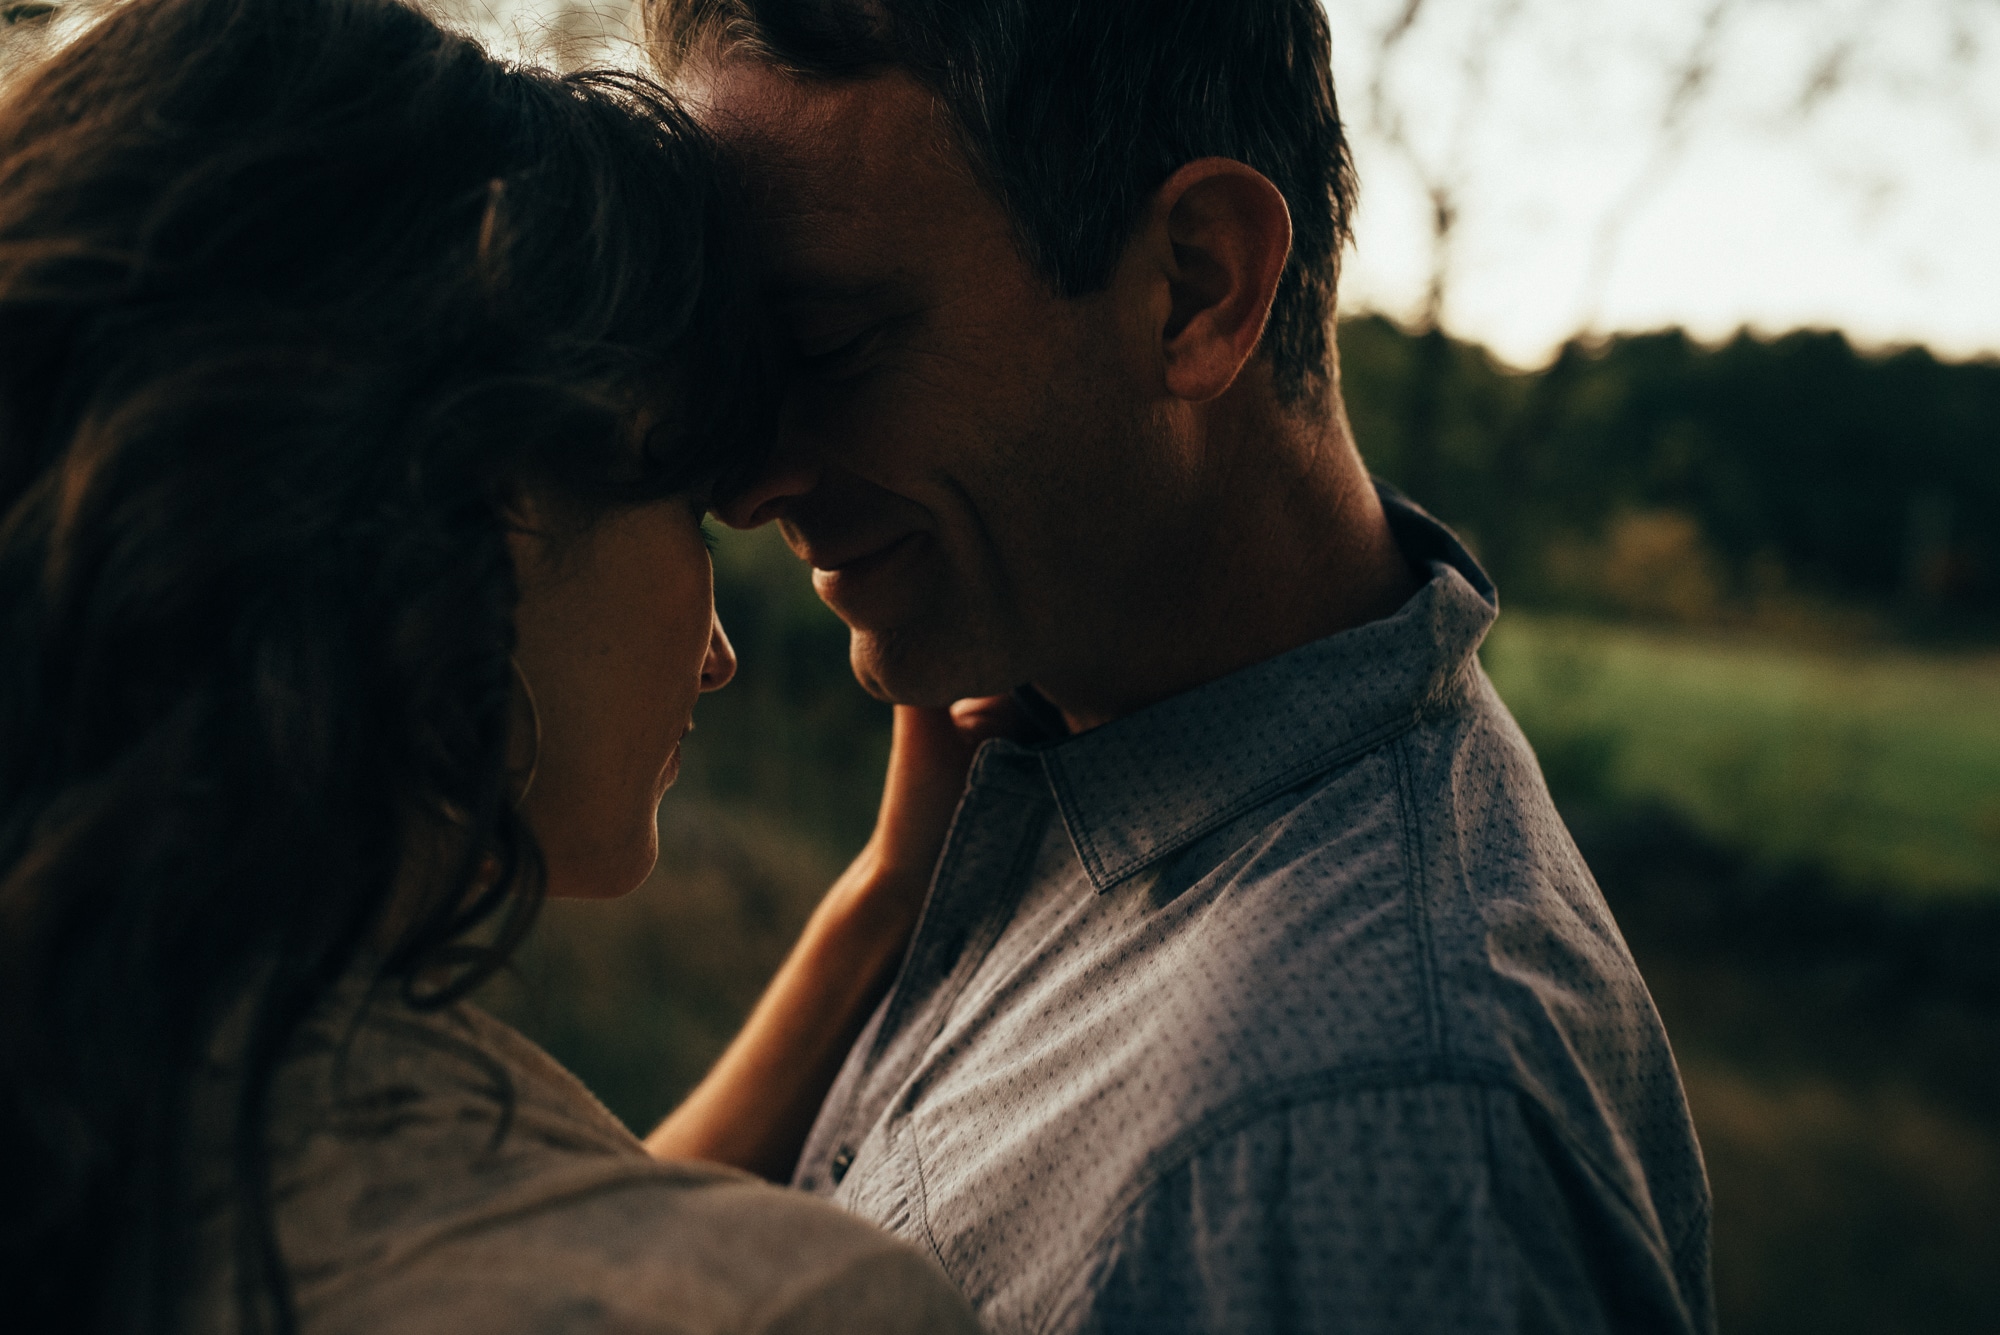
4. Expose for the Midtones
I almost always exposue for the highlights in an image, however, in the blue hour the difference between the highlights and the shadows isn’t as drastic. Given that you are already dealing with a low light situation, and you may already be pushing your ISO, exposing for the highlights may render your shadows too dark and you could clip the blacks. In exposing for a midtone, you should still be able to retain good detail in your highlights (on skin and in the sky), while also retaining detail in the shadows.
5. Use Kelvin To Set Your White Balance
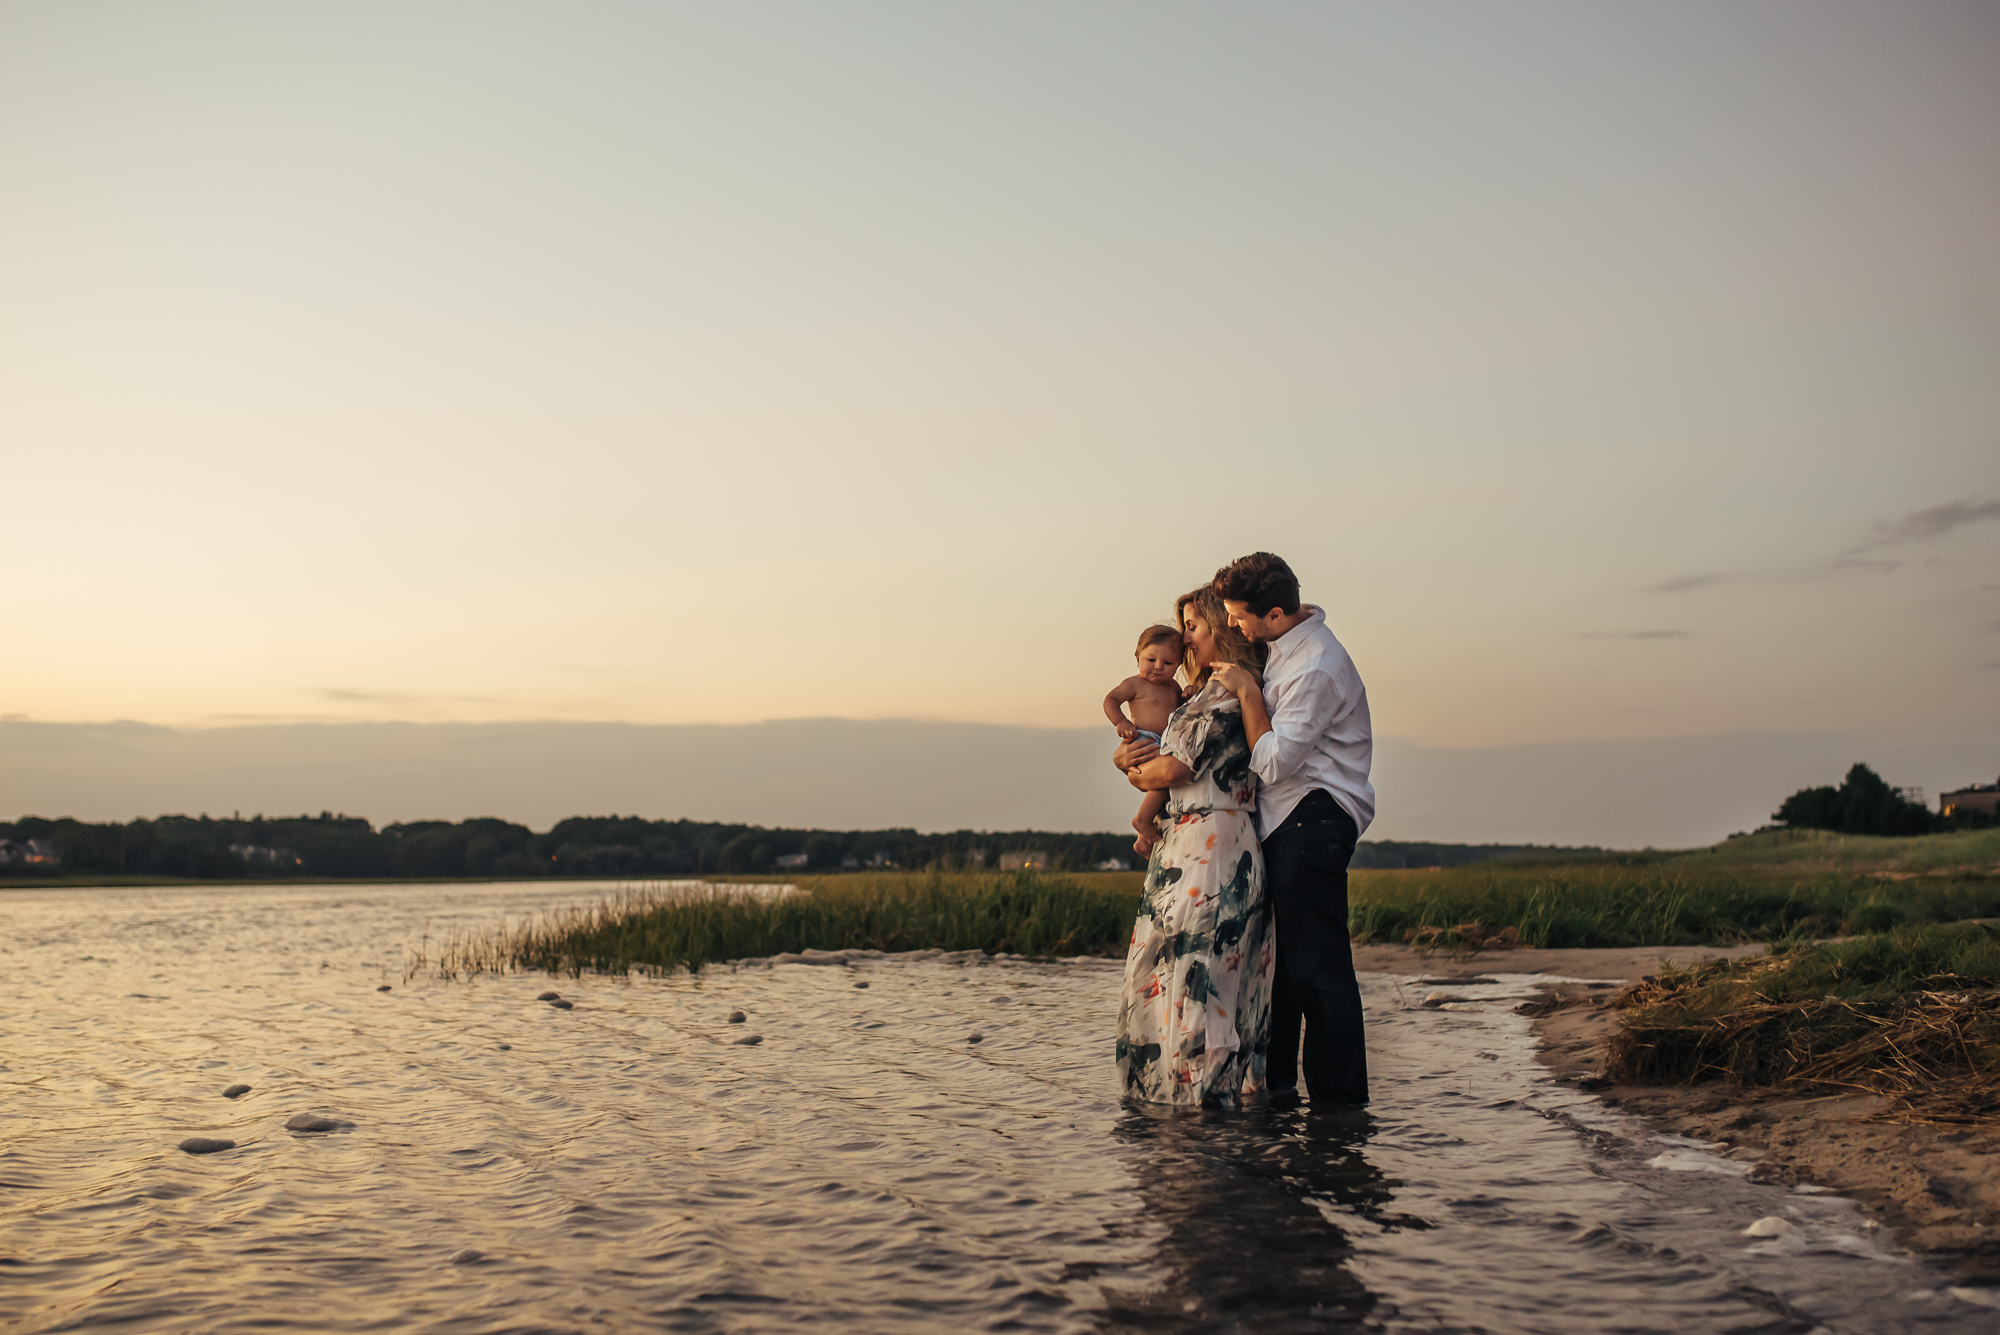
The blue hour gets it’s name from the predominantly blue hue of the light. If you use auto white balance your camera will try and “correct” the blue tones it sees and will render them more neutral. I prefer to set my white balance to capture the temperature of light as my eyes see it – which is more blue, and then (thanks to the wonder of shooting in RAW), I can play with the temperature and get creative in post. Also, I personally like the way blue hour images convert to black and white when captured on the cooler side. So, I will tend to set my while balance between 6,500k – 7,500K to keep things no the cooler side (somewhere around 9,000k-10,000k might render the light more neutral). Then if I want more warmth to the image, I will add it in post.
6. Don’t Be Afraid To Crank Up Your ISO
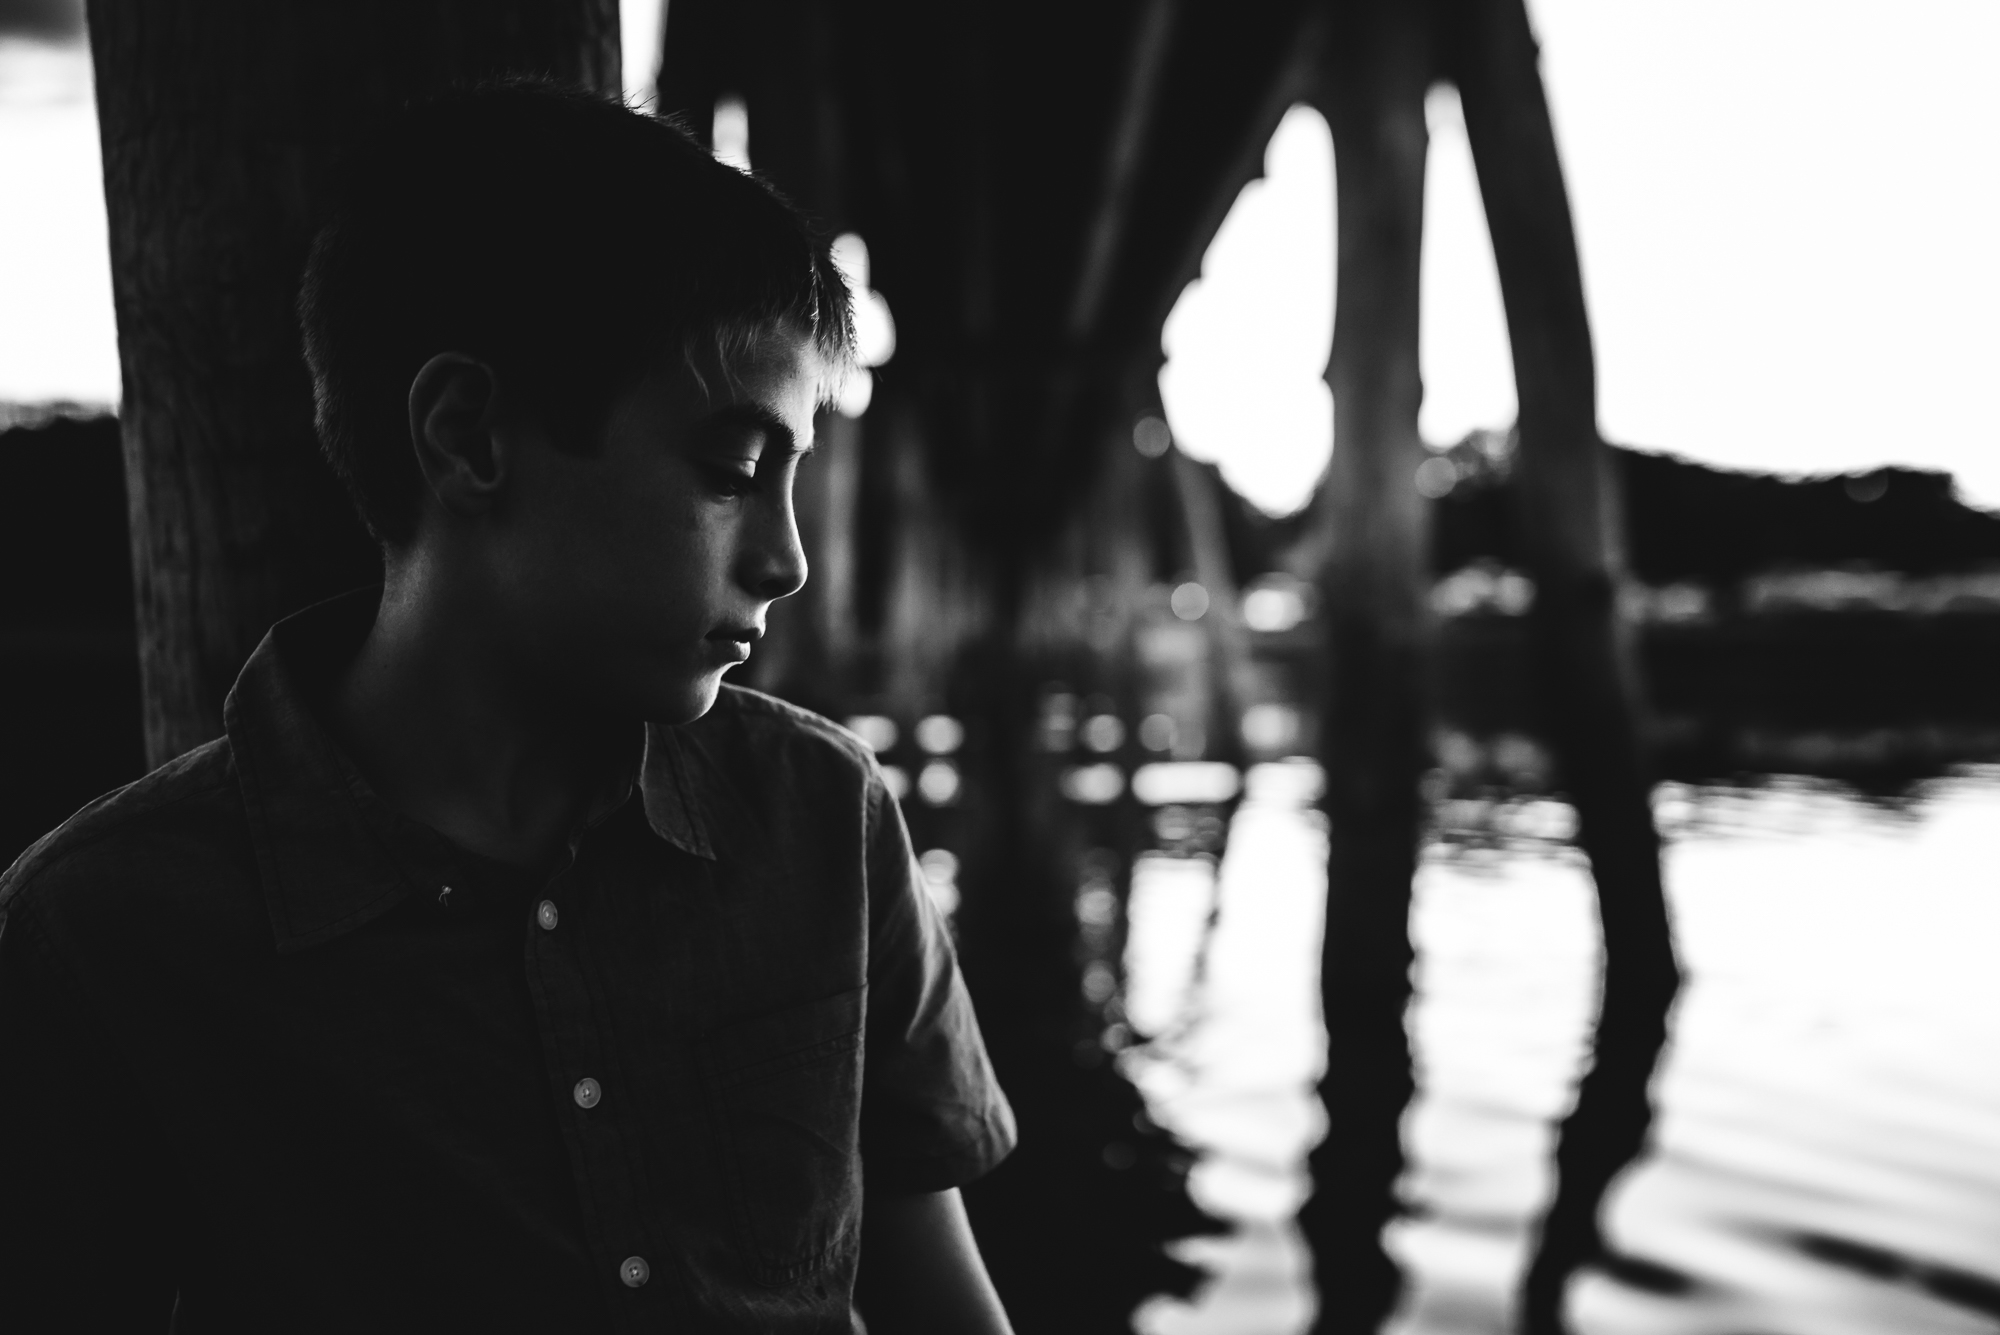
An image that is properly exposed at an higher ISO will always have less noise than an image shot at a lower ISO that was underexposed. Don’t be afraid to crank up your ISO to get the proper exposure.
7. Have Your Subjects Engage With Each Other
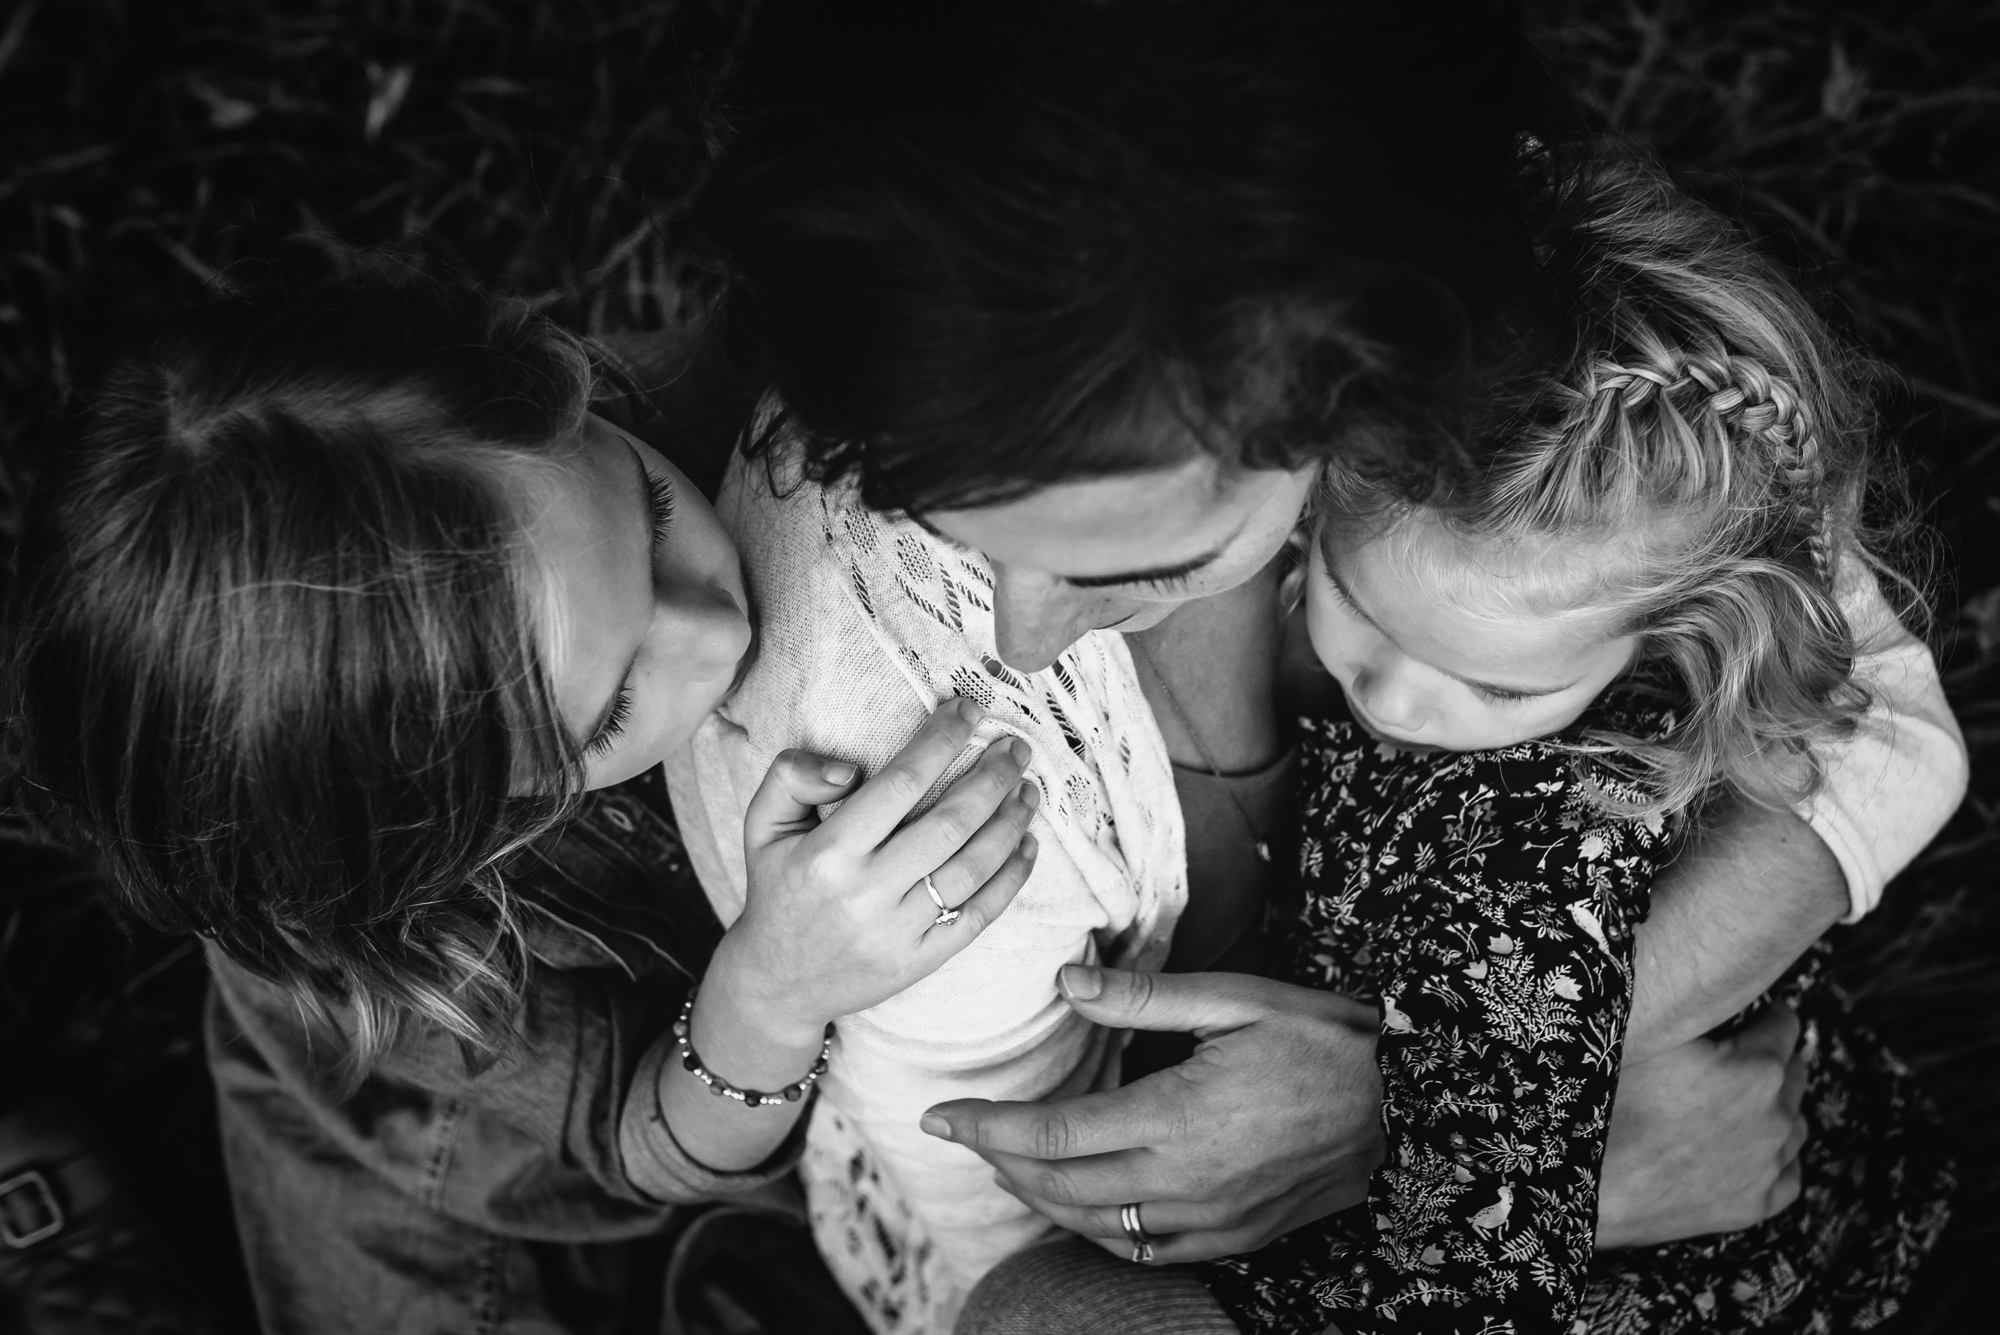
It can be hard to get solid catchlights at this time of day. By having your subjects engage in each other rather than the camera, the technical element of sparkling eyes becomes secondary to the moment that is unfolding.
8. Show Some Skin
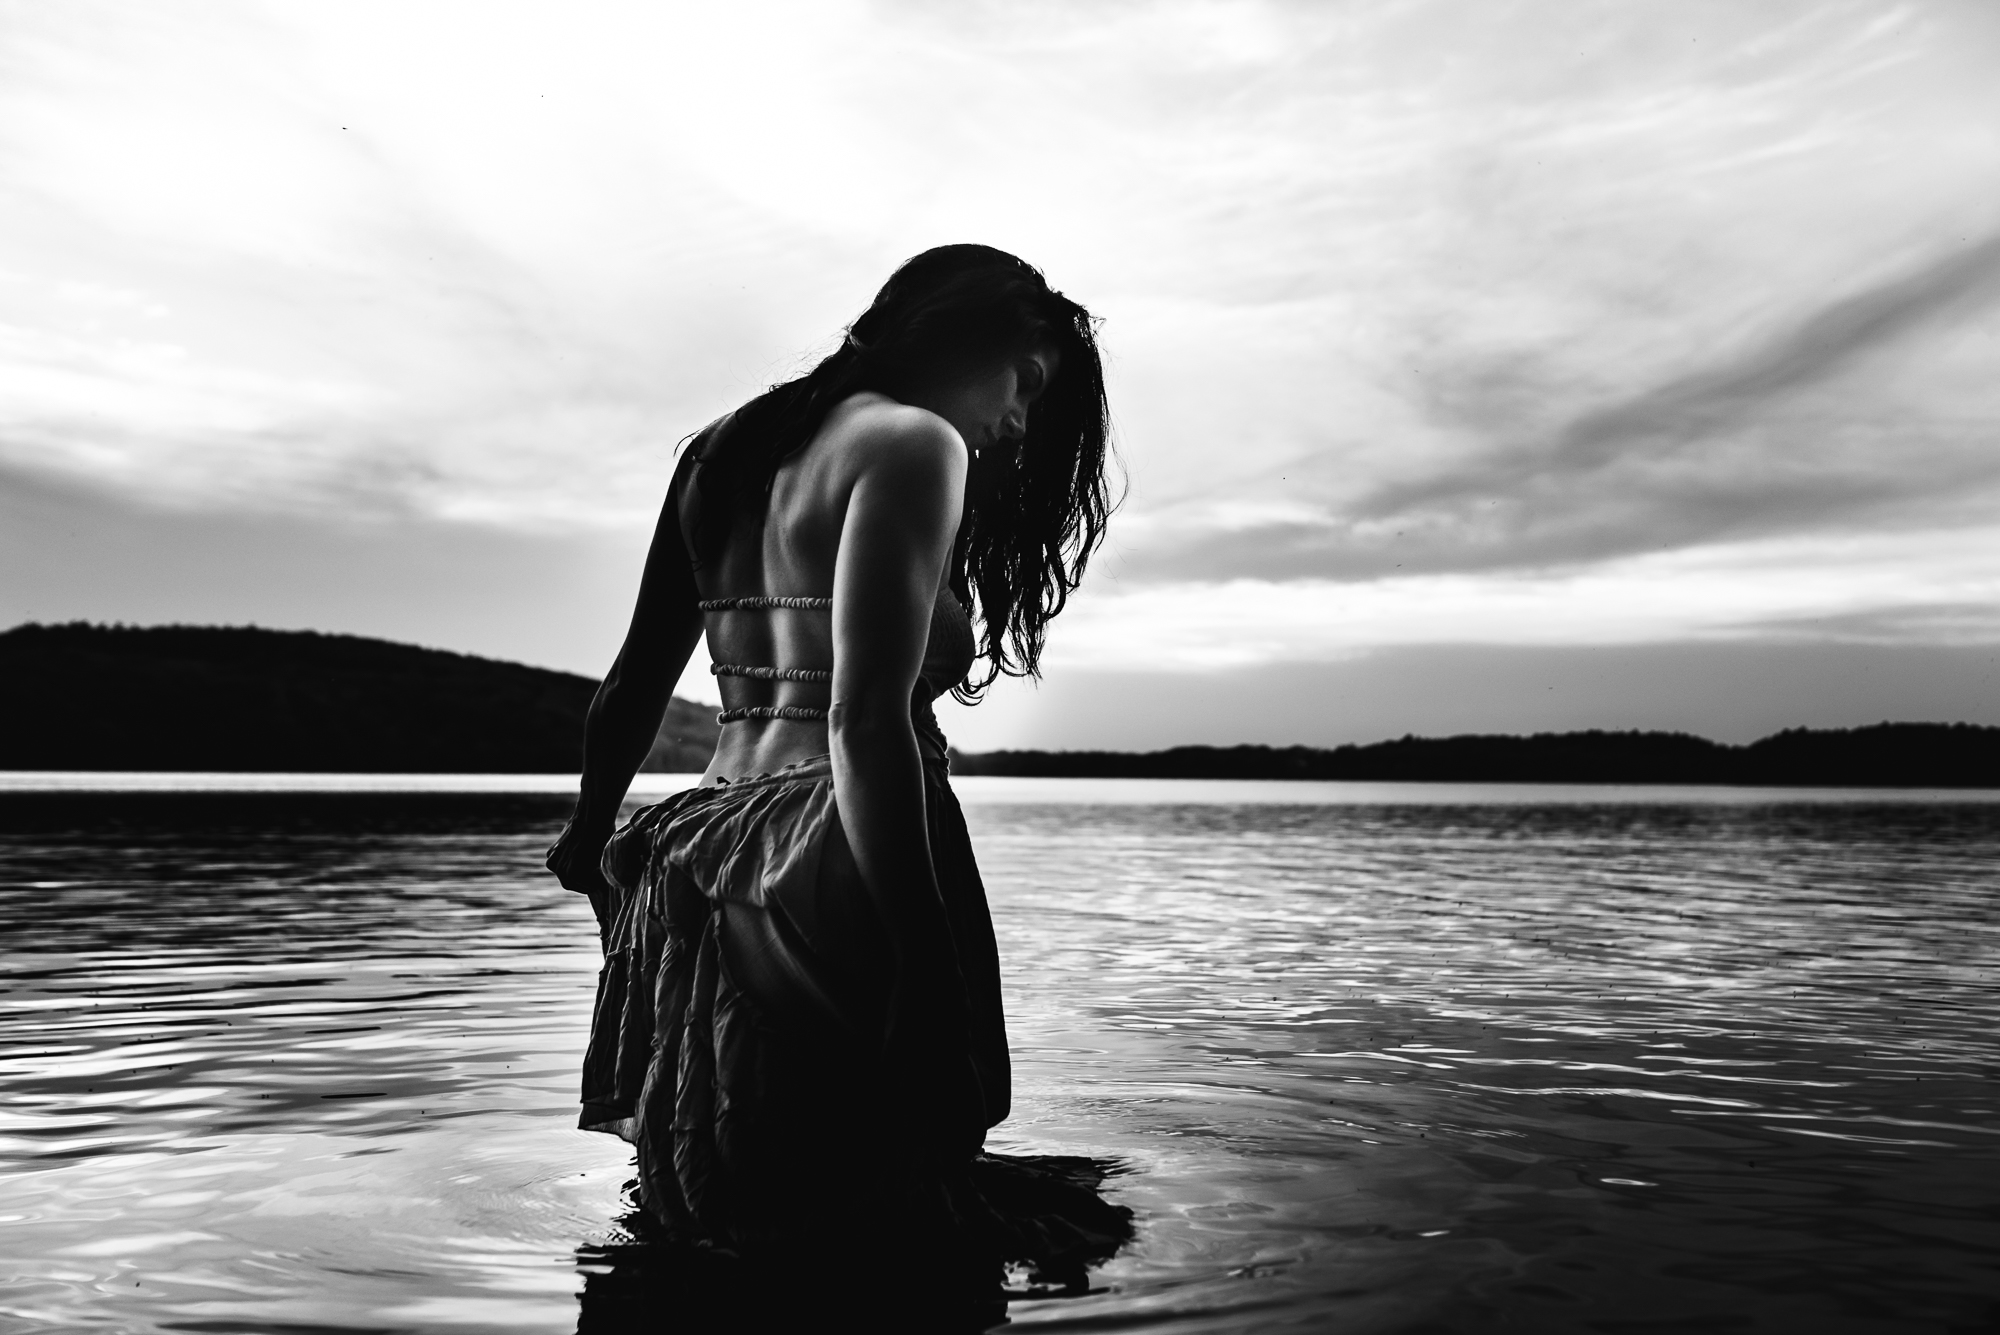
The blue hour light gives such a stunning luminance to black and white images. I just love the way this light looks on skin! If I know my session will carry into the blue hour, I like to encourage the women I’m photographing to wear dresses that might show a bit more skin.
9. Work Quickly!
Depending on the weather and where you are located you will have between 20 and 40 minutes of blue hour light. Sometimes I find I truly have only around 15 minutes where the light is perfection. It’s helpful to go into the blue hour know what you want to capture and how you will do it – and then work quickly to get it done.
10. Get Creative With Your Processing
Blue hour light lends itself beautifully to moody and emotive processing. Play up the blacks and the wonderful luminance of the highlights. Use split toning to bring out some color in the sky. Get creative with the white balance and bring it warm and golden. Your creative possibilities are endless!

Wow! Some really beautiful images here and what great advice! Thanks for sharing! 🙂
Thank you!! Glad you found it helpful!
Jen! You are such a talent! All of these are stunning!
Oh Olivia! Right back at you!!!!
Thank you. Great tutorial.
Thank you Melissa! So glad you found it helpful!
Love these images! Sorry about the caps, I can’t seem to turn them off.
GREAT TIPS ONLY SURPASSED BY THE STUNNING IMAGES. VERY MOVING WORK. THANK YOU FOR SHARING.
I only just learned of the blue hour of photography. Your descriptive explanations and beautiFul and seamless transItion into photo-graphic examples Define your teaching skill! Thank you!
What camera do you use?? Your images are stunning!
Thank you! I shoot with a Nikon D750 and typically a Sigma 35mm 1.4 ART. My favorite combination!