
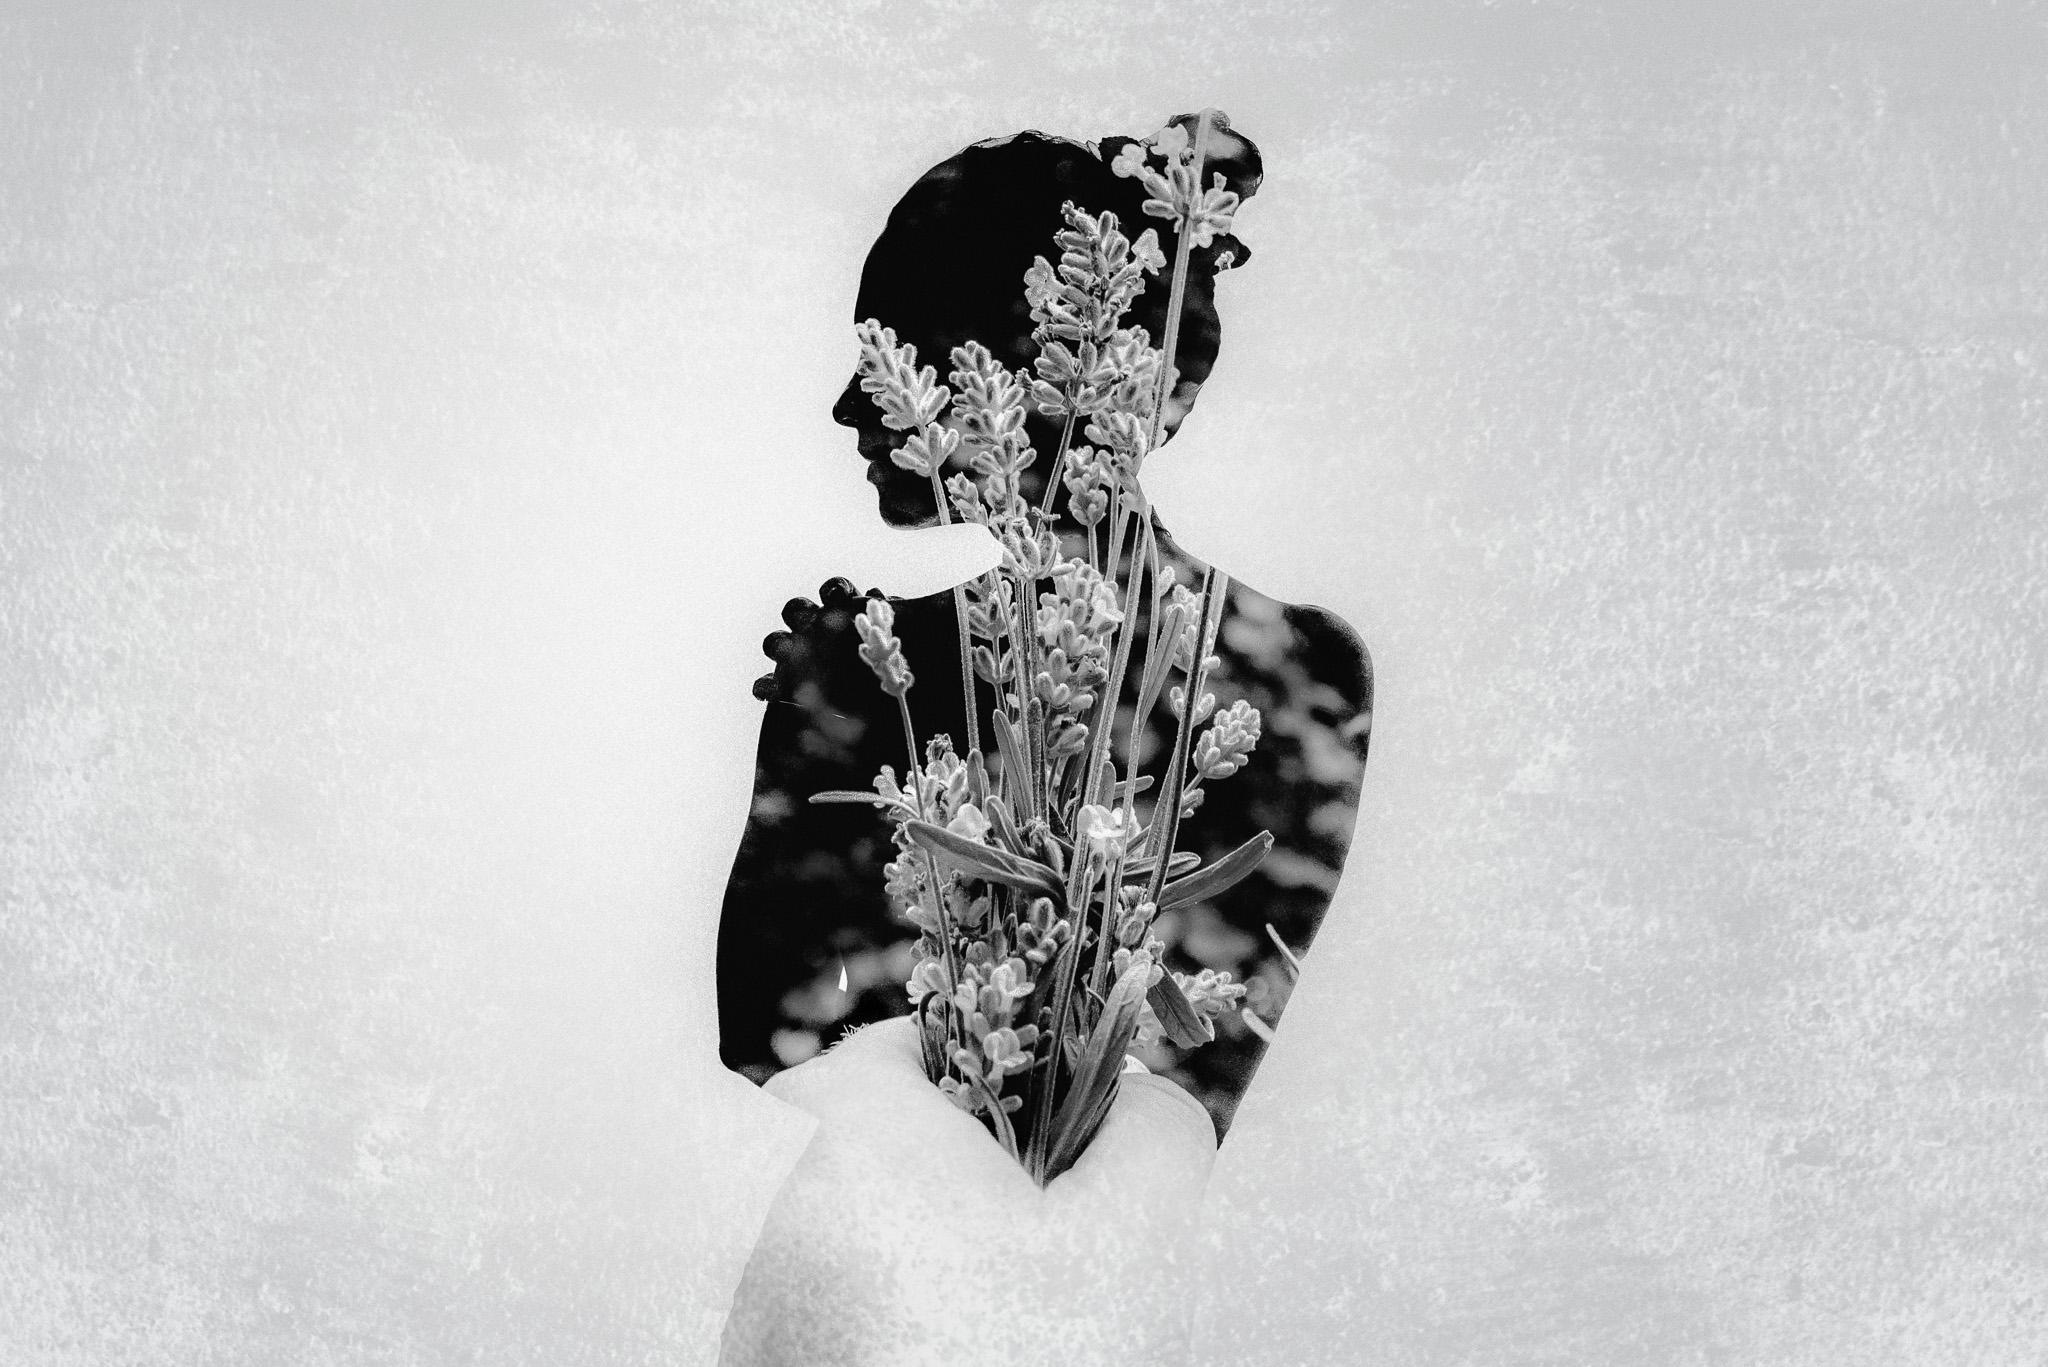
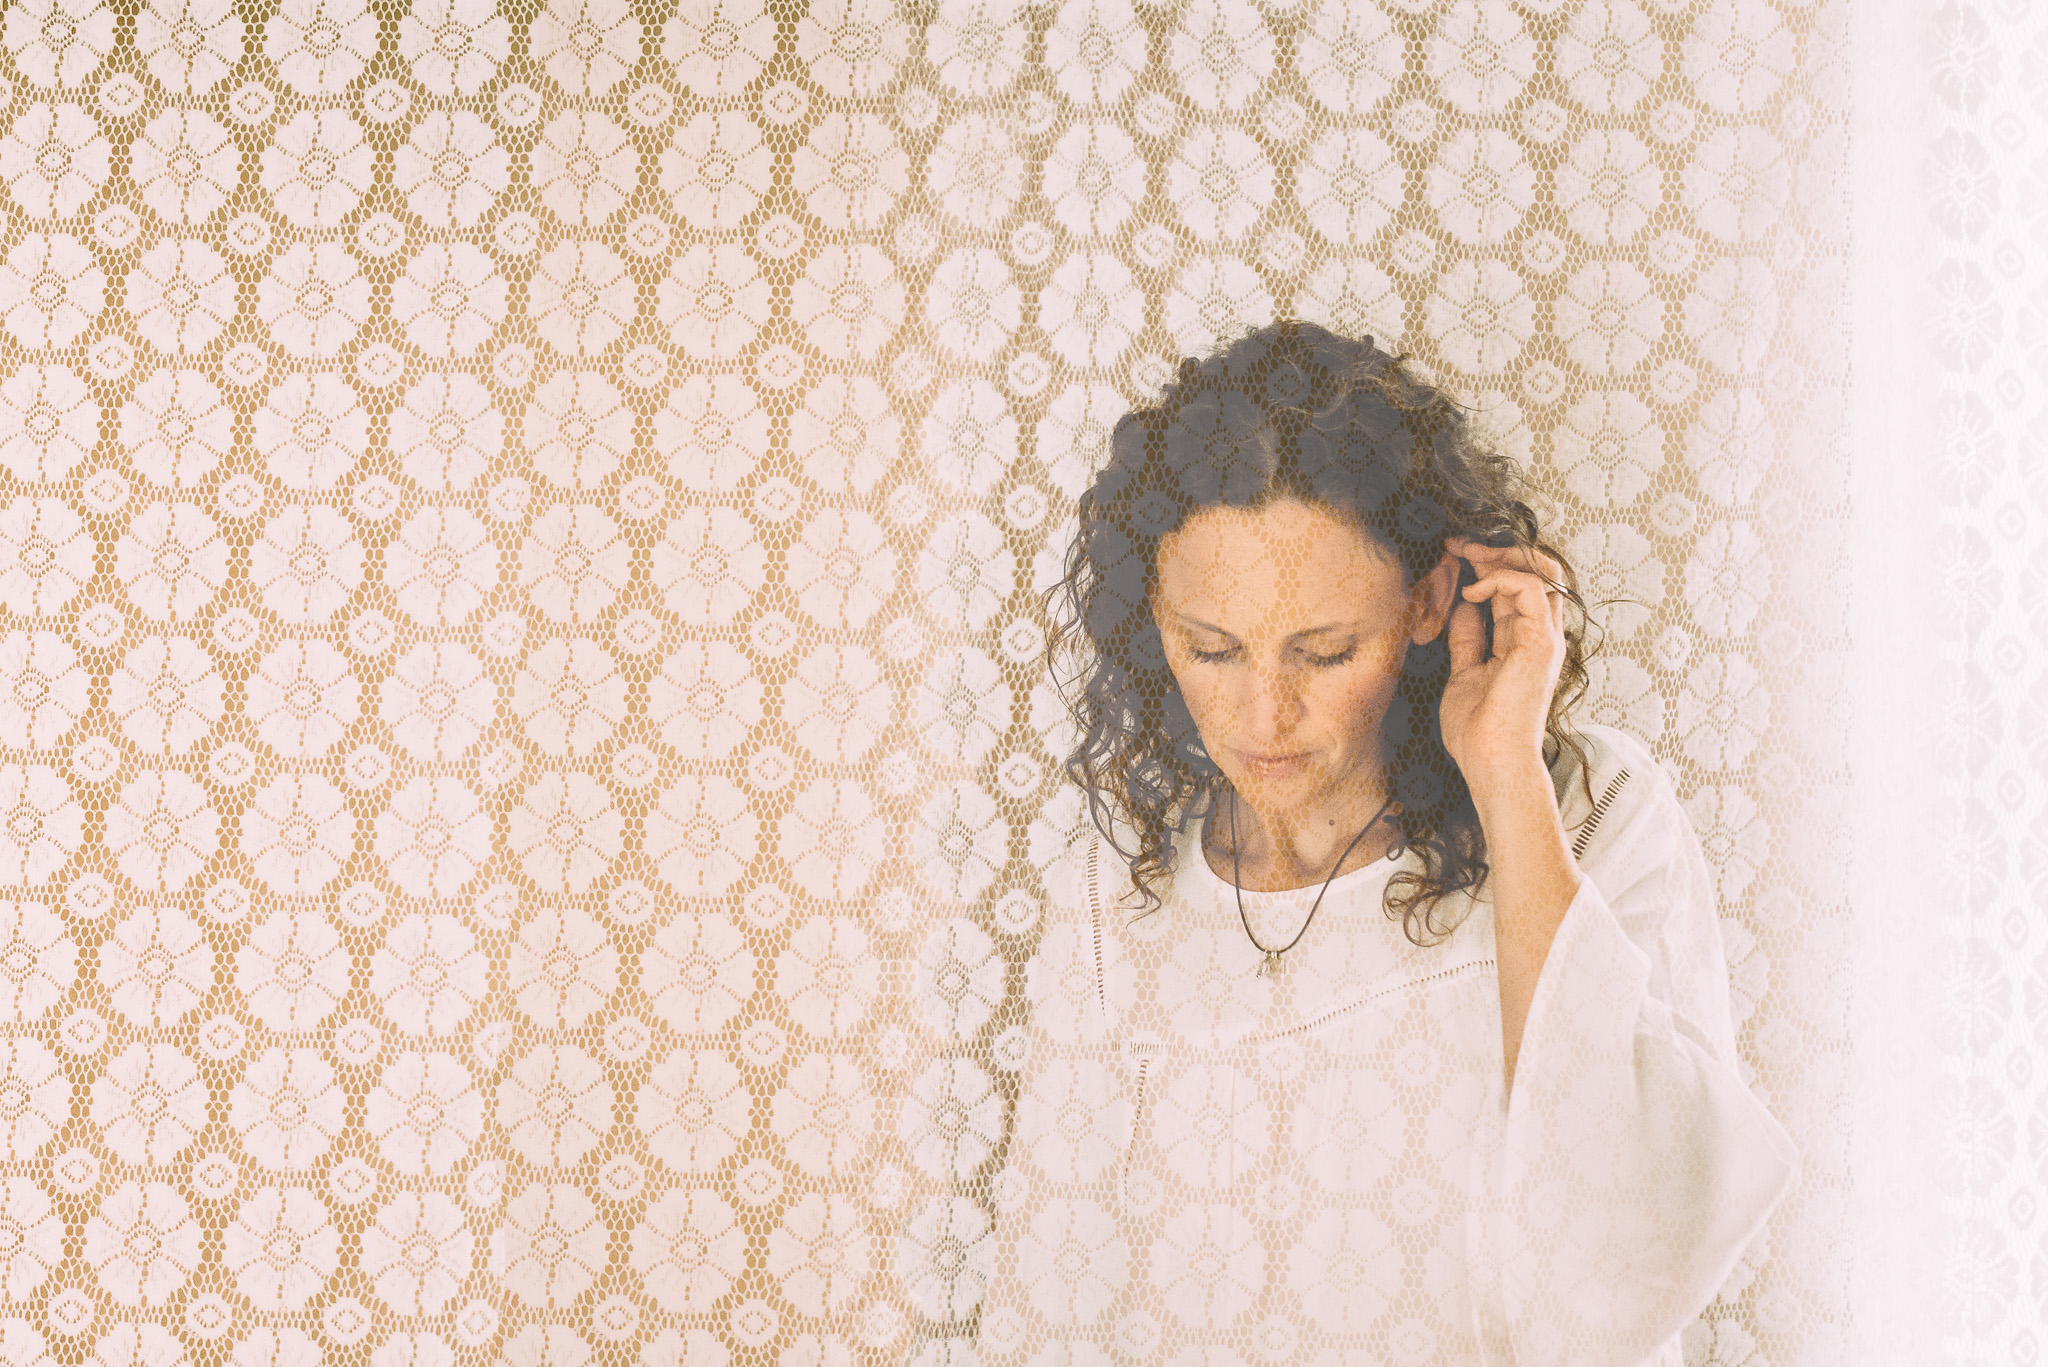
Creating in-camera double exposures can be a lot of fun and a great way to stretch your creativity. In-camera double exposures also have the ability to turn a seemingly ordinary location into something extraordinary. The image above is merely a combination of my bedroom window and my farm-style kitchen table with flowers placed on it. Individually these images are nothing special, but when combined, they create an image steeped with depth and emotion.
There are many ways you can do a double exposure. You can layer the images in Photoshop, you can set your camera to layer two images back to back in-camera, or you can use the camera’s tools to manually layer the images in-camera. This third option is my favorite option, so I’ll run through that first.

In-Camera Image Overlay
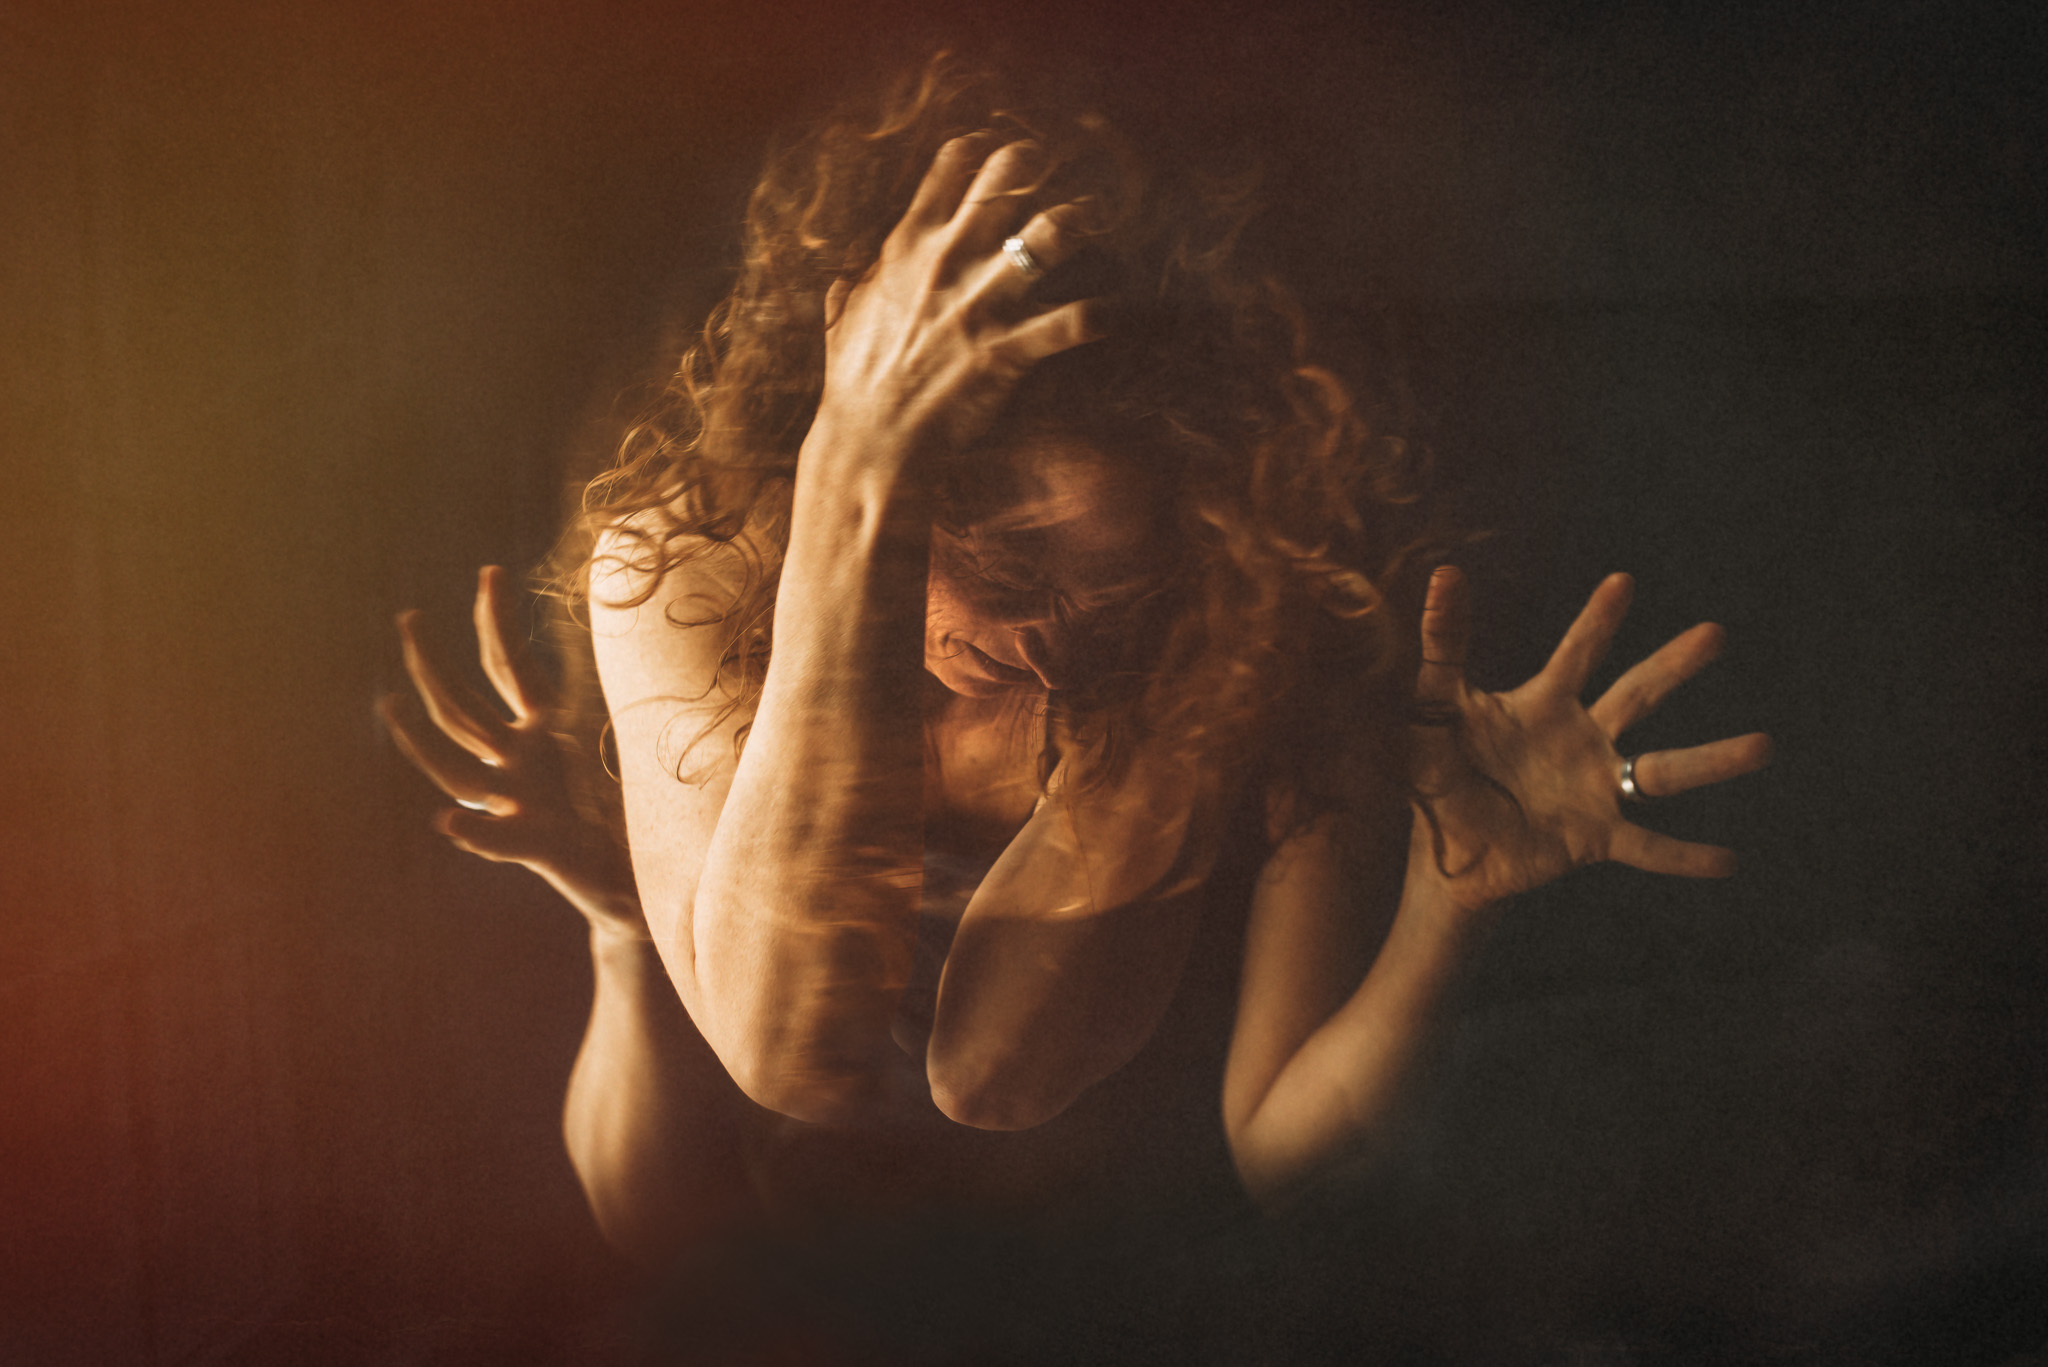
The first step is to take your initial image. If you are looking to fill a silhouette, the best way to do this is to shoot it against a white background. I don’t have a studio, or a white wall in my house, so in the image above I just took a white sheet a clipped it across one of my windows. I metered to that I would be fairly silhouetted against the window and the sheet rendered nice and white without a lot of detail behind me. I then set the camera on interval timer and clicked away until I had a pose that I wanted to work with.
Once you have a base image that you want to work with and “fill”, the fun part begins. Try just walking around your home or walking outside to see what inspires you. Look for texture or color that inspires you. For this second exposure, it can be beautiful to use something of a natural element, however, it is not necessary. You can also take another image of the same subject. To give it extra impact, try zooming in or out for the second image. One thing to keep in mind when taking the background image is where the majority of the texture falls. If you take a center-weighted silhouette, you will want a background image with a lot of detail in that same spot. Further, if you want to retain properties of both images (rather than filling a silhouette), it’s imprint to be mindful of where the images hit together.
Once you are happy with your background image, and your overlay image, go into your camera’s Retch menu and select image overlay (I shoot on Nikon so this could be slightly different for Cannon. For Nikon it’s Menu -> Retouch Menu -> Image Overlay). Once you are in this menu you will you will select and place your two images into “Image 1” and “Image 2”.
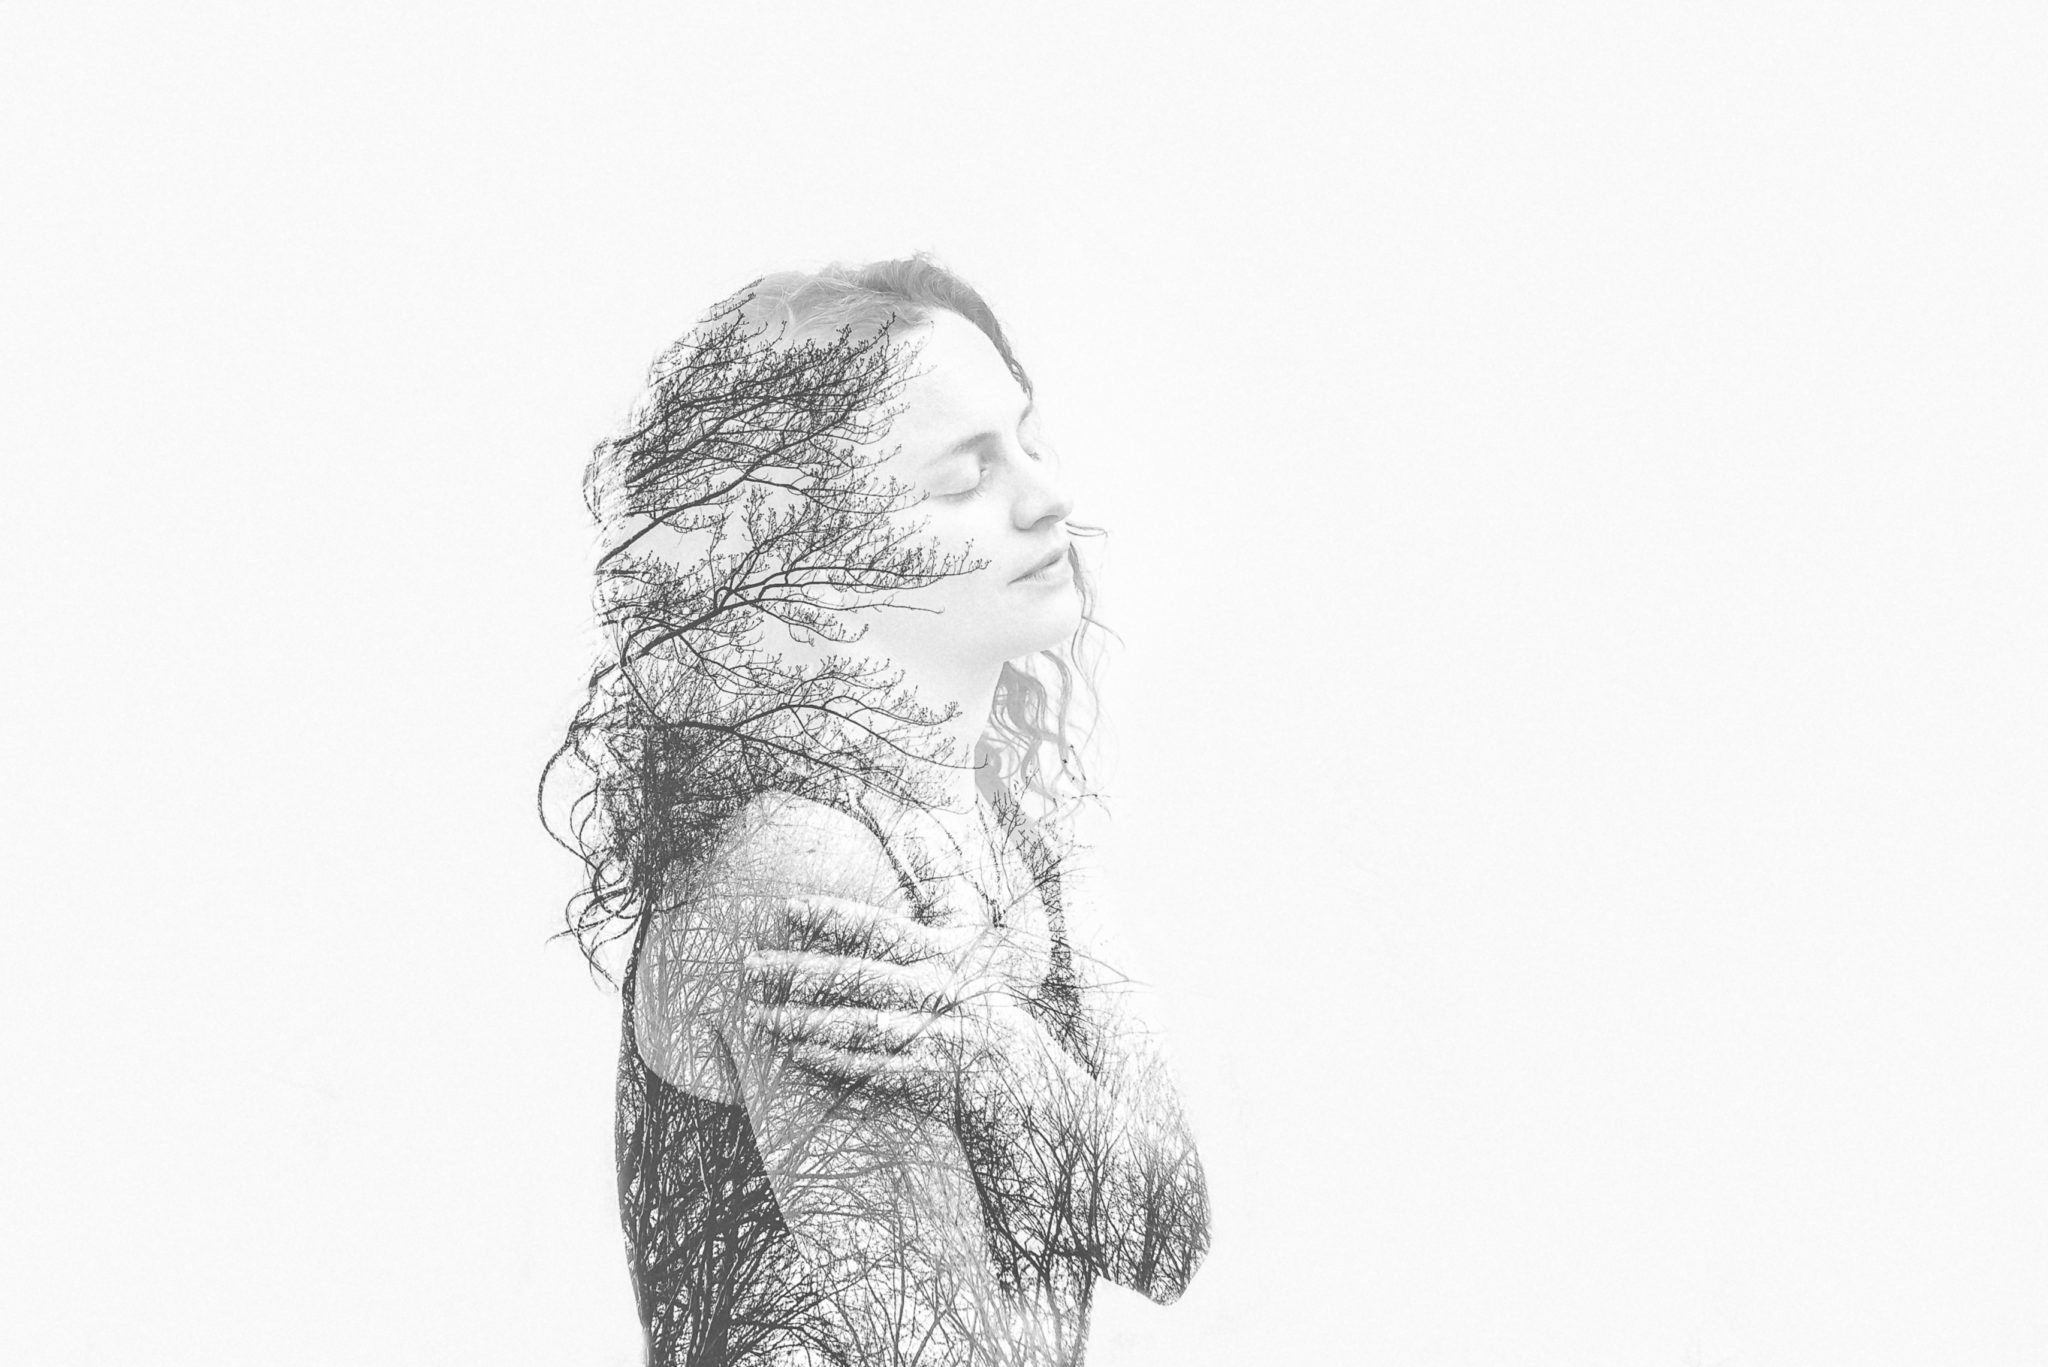
You can use the up arrows or down arrows to adjust the gain of the two images until you get the creative look you are going for. If you are looking to fully fill a silhouette you will want to bring the second image (the fill image) to about x2 so that the second image renders nice and dark over the first. If you are trying to retain properties of both images, the gain is all a matter of what best meets your creative vision.
After adjusting the gain, preview the overlay to make sure you like it, and then hit “Ok”. That’s it!
Note: If your camera does not offer this option, you can duplicate this same process within Photoshop by lowering the opacity of the overlay image.
Once you have saved the image in camera, you can then decided if you want to retain the additional properties of the fill image or if you would like to render the rest of the image white via Photoshop. Also, sometimes a little clean-up and sharpening in post can really help the image come to life. There’s absolutely no right or wrong answers when in comes to double exposures!
Sequential Multiple Exposure Images
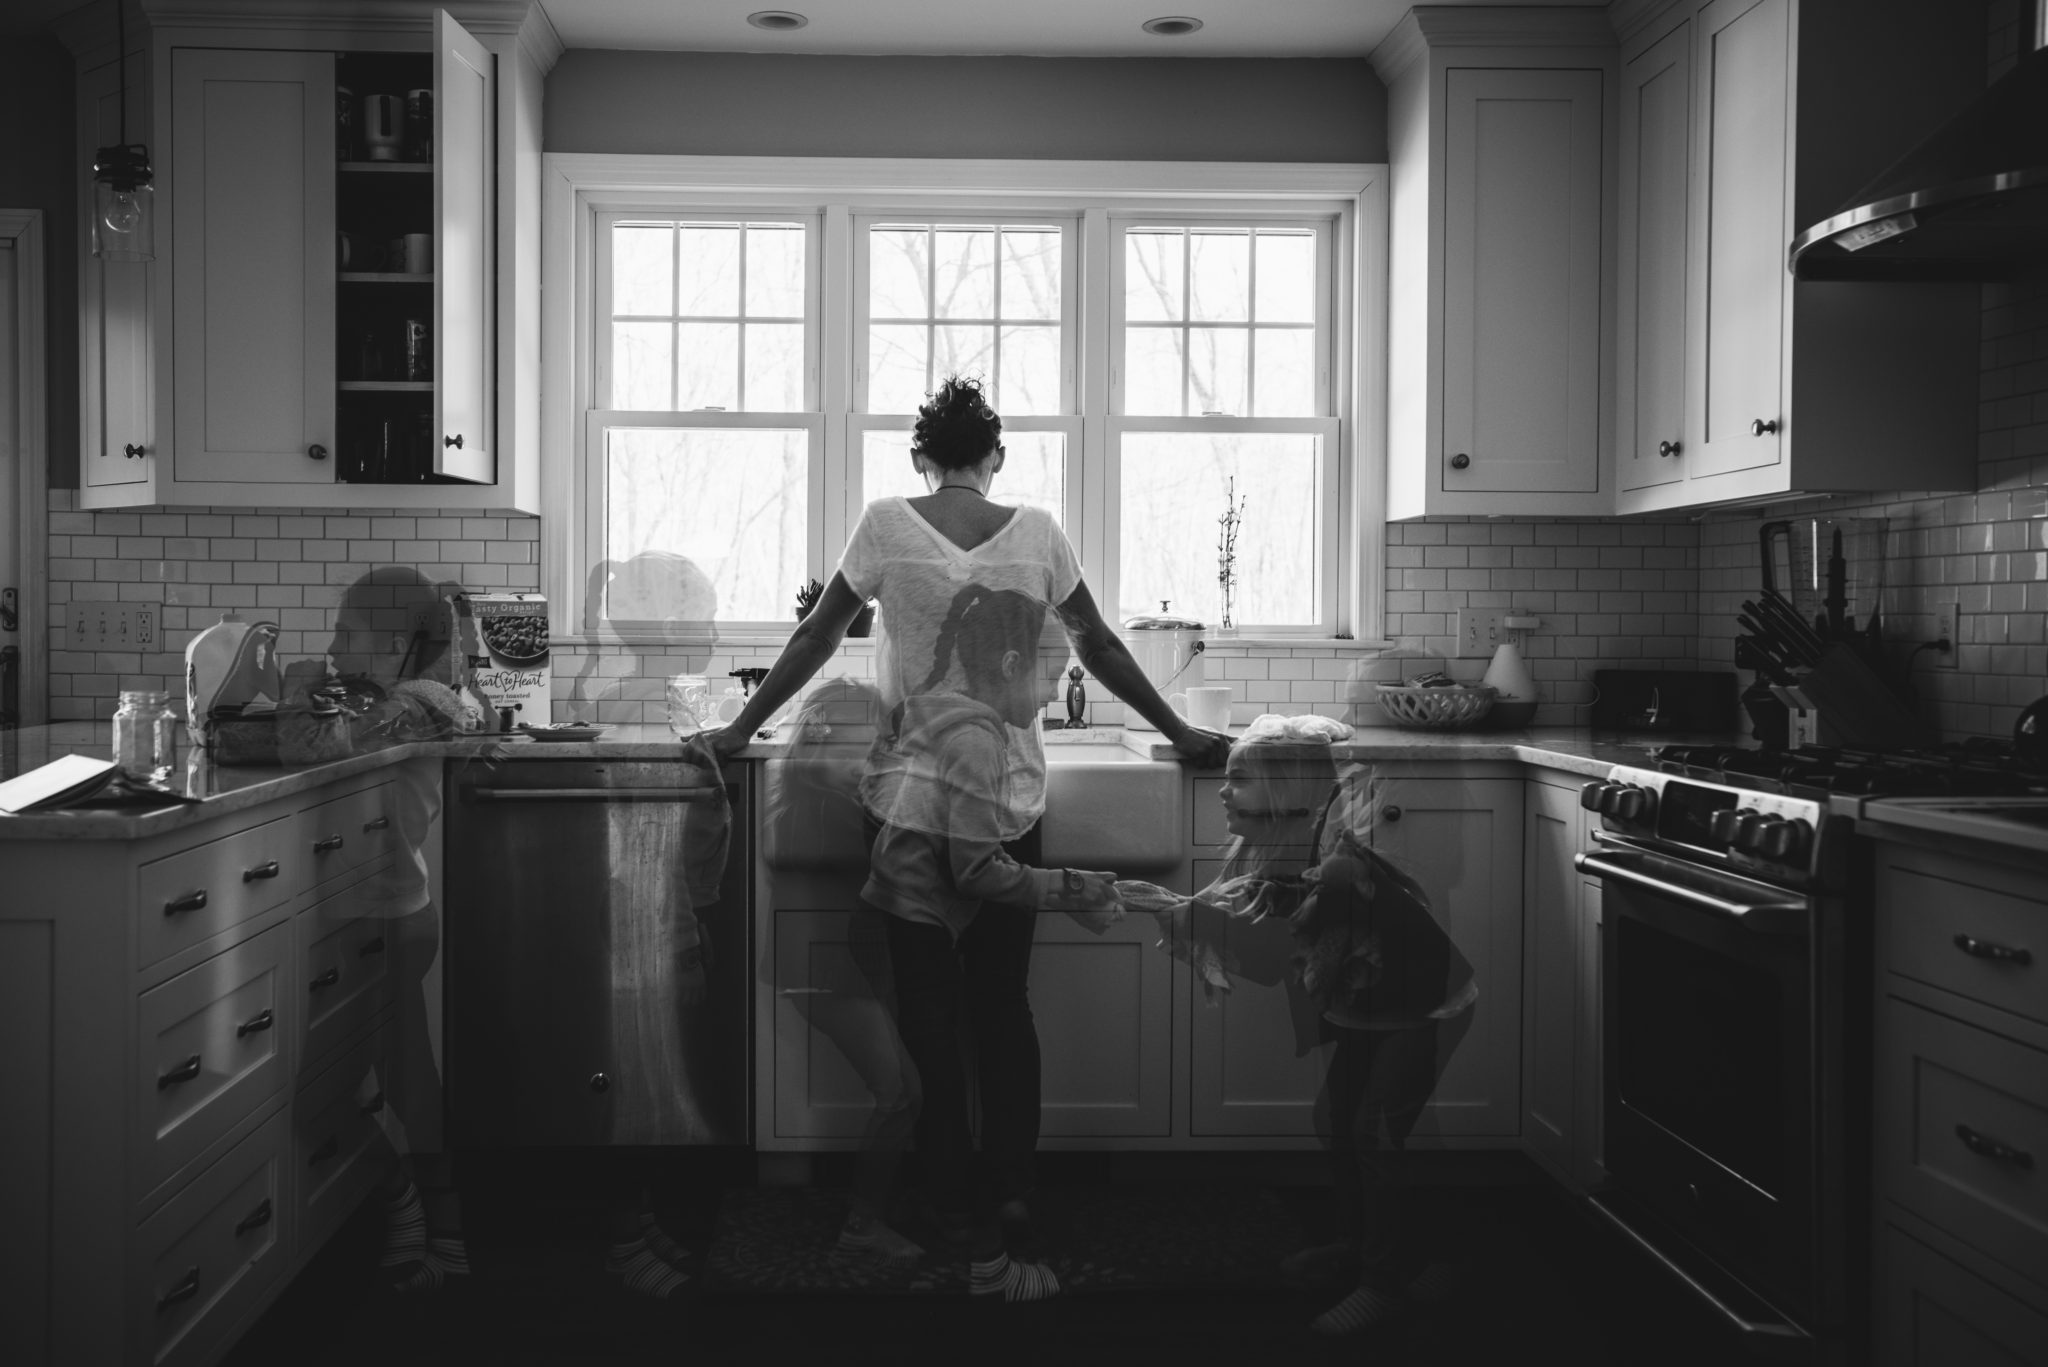
An alternative to using the Image Overlay tool is to set the camera to take sequential exposures and layer them into one image. The image below was of me with my daughters was take with back-to-back in-camera exposures. I set the camera to “Multiple Exposures”, set the number of exposures to three, and had my kids move around me while I stayed in one place. The image was fully ready to go in camera, and the only processing work I did was to convert it to black and white.
So play around, get creative, and see what you can create through in-camera double exposures!
0 Comments