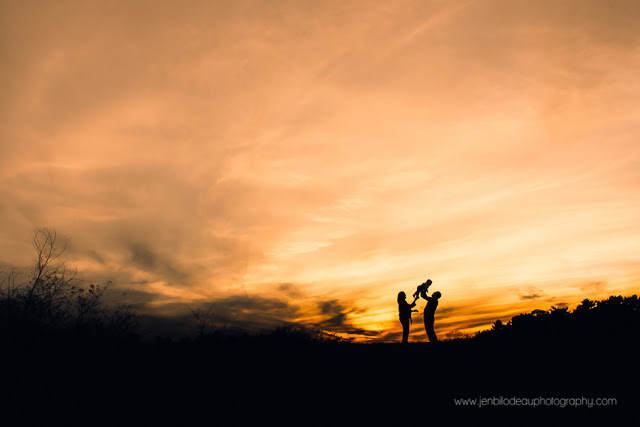
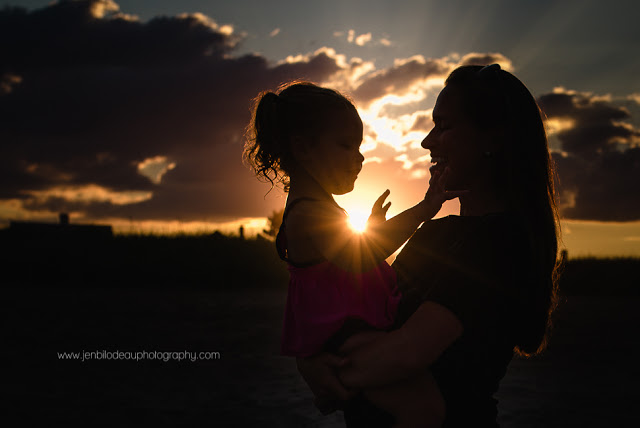
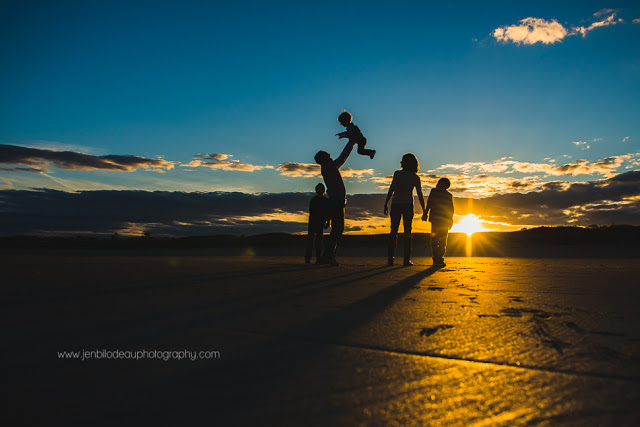
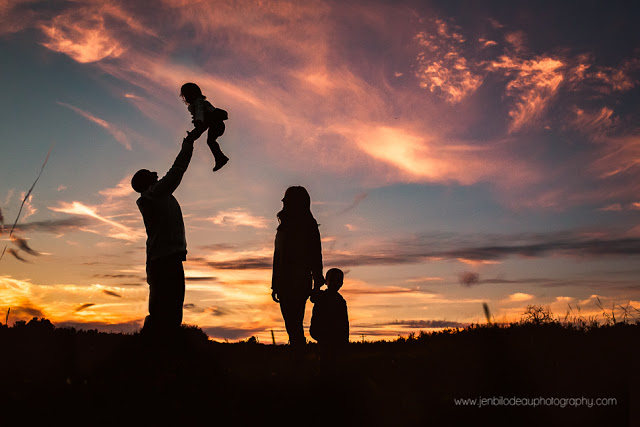
With the days getting shorter, autumn clouds moving through, and the soft sun of fall days, it’s the perfect season to create stunning silhouette images! Below are 4 tips to help your sunset images beautifully come to life.
1) Find an open spot and get low
You don’t need to be up very high to create a stunning silhouette. All you need is a spot that has a long, unobstructed view to the west. Once you find the right spot, you will want to get as low as you can (you should essentially be lying flat on the ground) to get as much of your subject with open sky behind them as possible.
2) Expose for the sky
Meter on the part of the sky just outside of the sun if the sun hasn’t set yet, or meter on the glow above the horizon if this sun has already set. It’s also helpful to close down a bit – especially if you want to create a starburst effect with a sun that hasn’t fully set yet. To capture the sun as a starburst, f/16 or above is best.
3) Positioning is Everything
You will want to be able to see your subject’s profiles and space between each subject is critical to keep each of them from merging into a giant black spot. Have you subjects hold hands or toss a young child in the air. Anything that creates some space between them while still maintaining a connection is perfect.
4) Make it Pop With Processing
You don’t need vibrant reds and oranges in the sky to create a stunning silhouette. Some dynamic cloud formations or even an empty sky will work just fine. When you bring the image into Lightroom you will want to first bump the contrast a bit (be careful not to clip the blacks too much), and it’s often necessary to make a few exposure adjustments to the highlights and whites. From there you can play with the tone curve. Depending on the clouds in the sky and the look you are going for, you may find you need to lift the blacks a bit, or deepen them, brighten the whites or bring them down. Then to really make the image pop add some color, at up to 50% saturation, to the highlights and shadows through split toning.
That’s it! So next time you finishing up a session, take a minute to give your clients that “wow” image they are never going to forget!


0 Comments