Your focus settings are one of the most important settings on your camera. If focus doesn’t hit where you intended it to, your image can take on an entirely different meaning, or the emotional weight of your image can get lost.
There are several decisions you will make that will impact focus, so let’s walk through each of these below.
1. Focus Point Selection: Use Single Point Focusing
Today’s cameras offer many automatic and semi-automatic focus point selection modes, but I firmly believe that selecting your focus point using Spot/Single Point focusing is the most effective and accurate way to execute your vision.
After setting your camera to the Single Point focus mode within the camera’s menu, you will use the cameras arrows to toggle to the focus point that you want for each image.
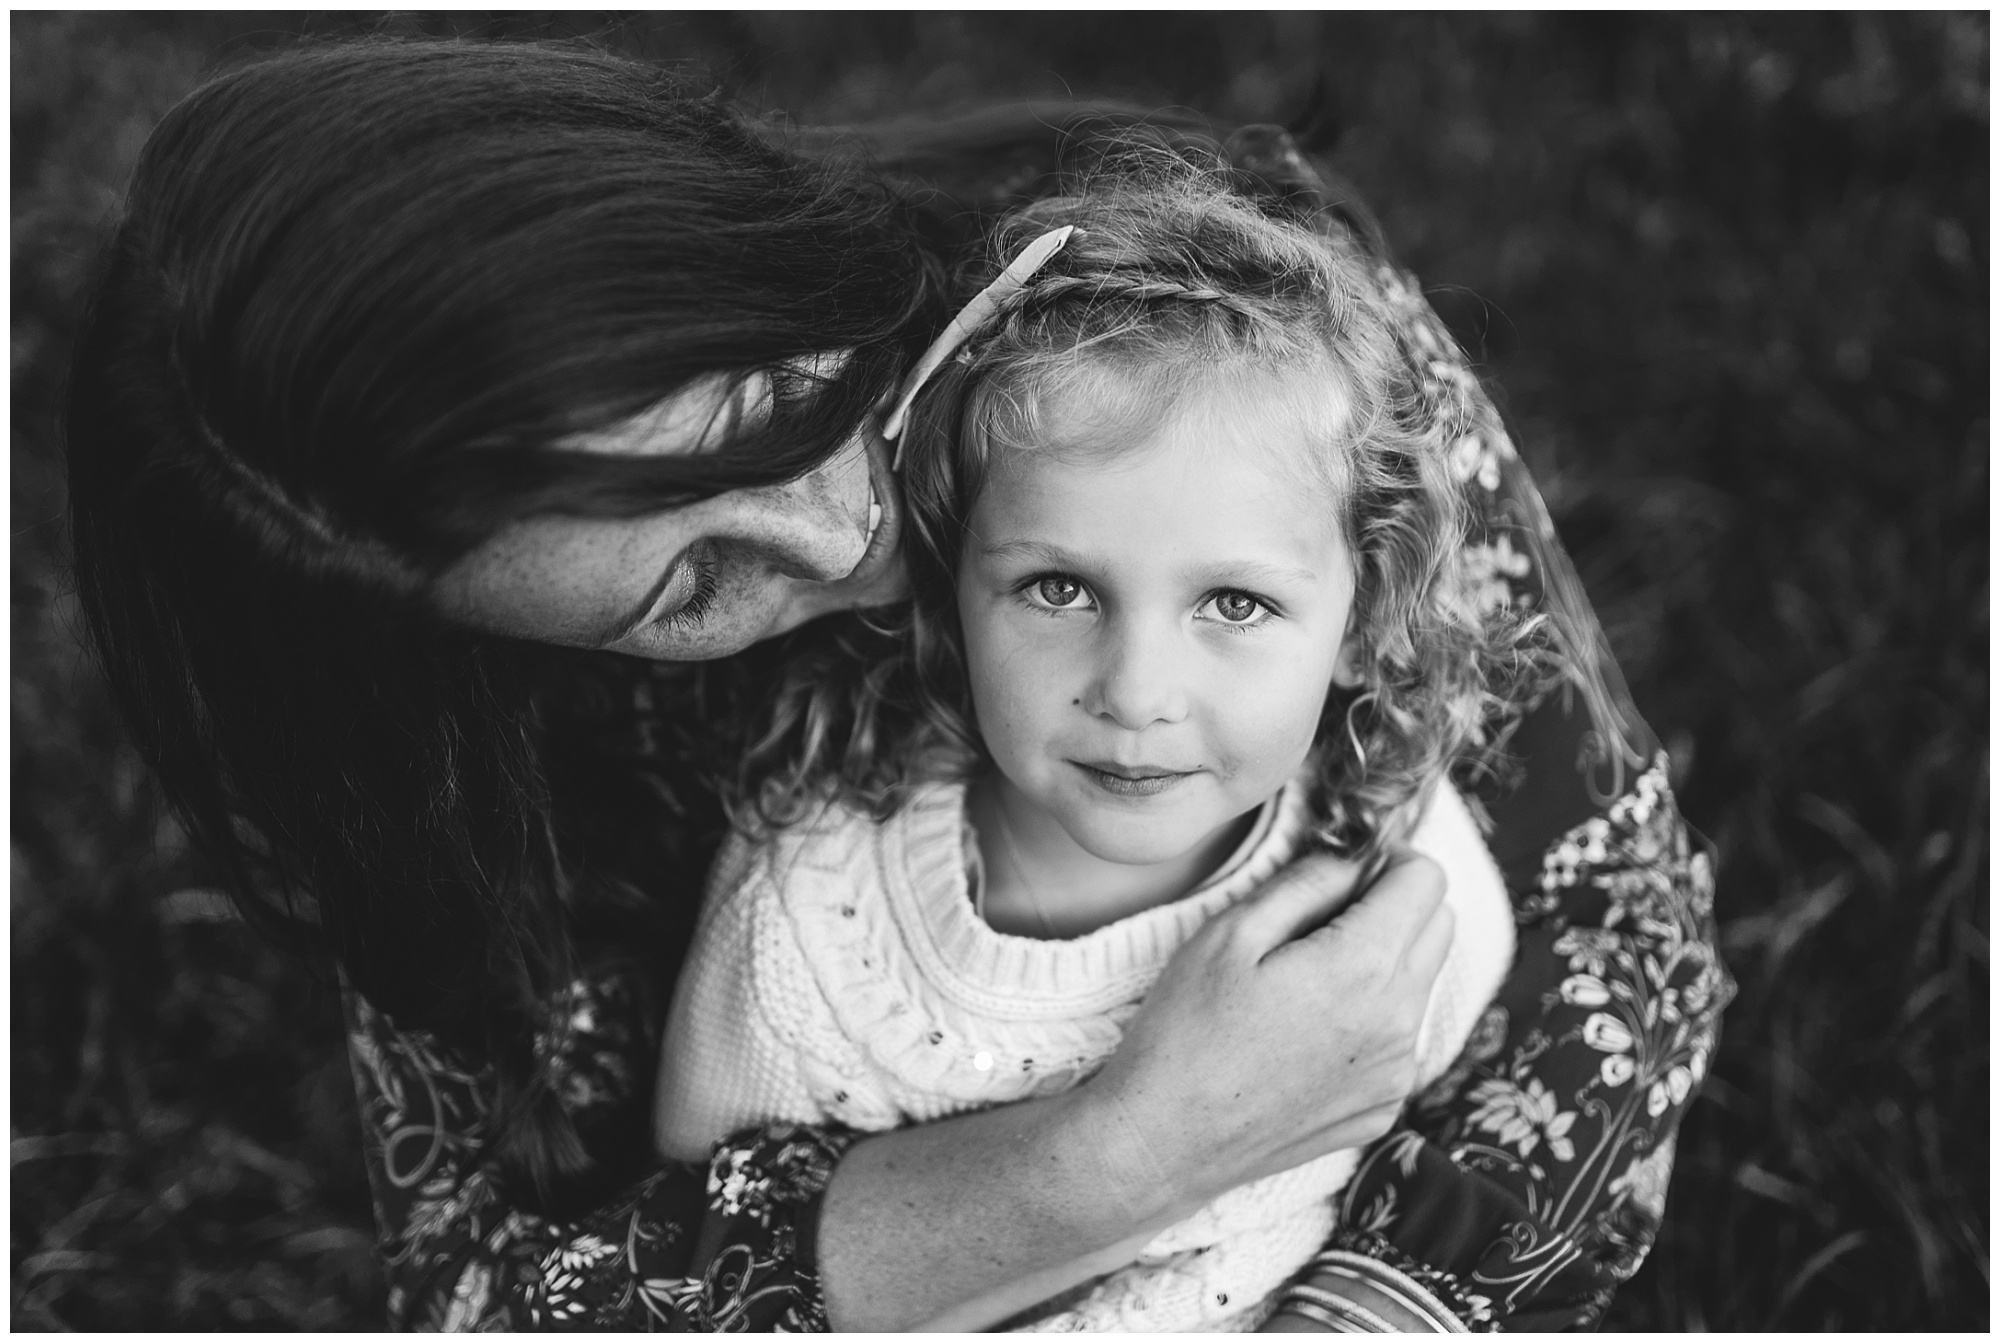
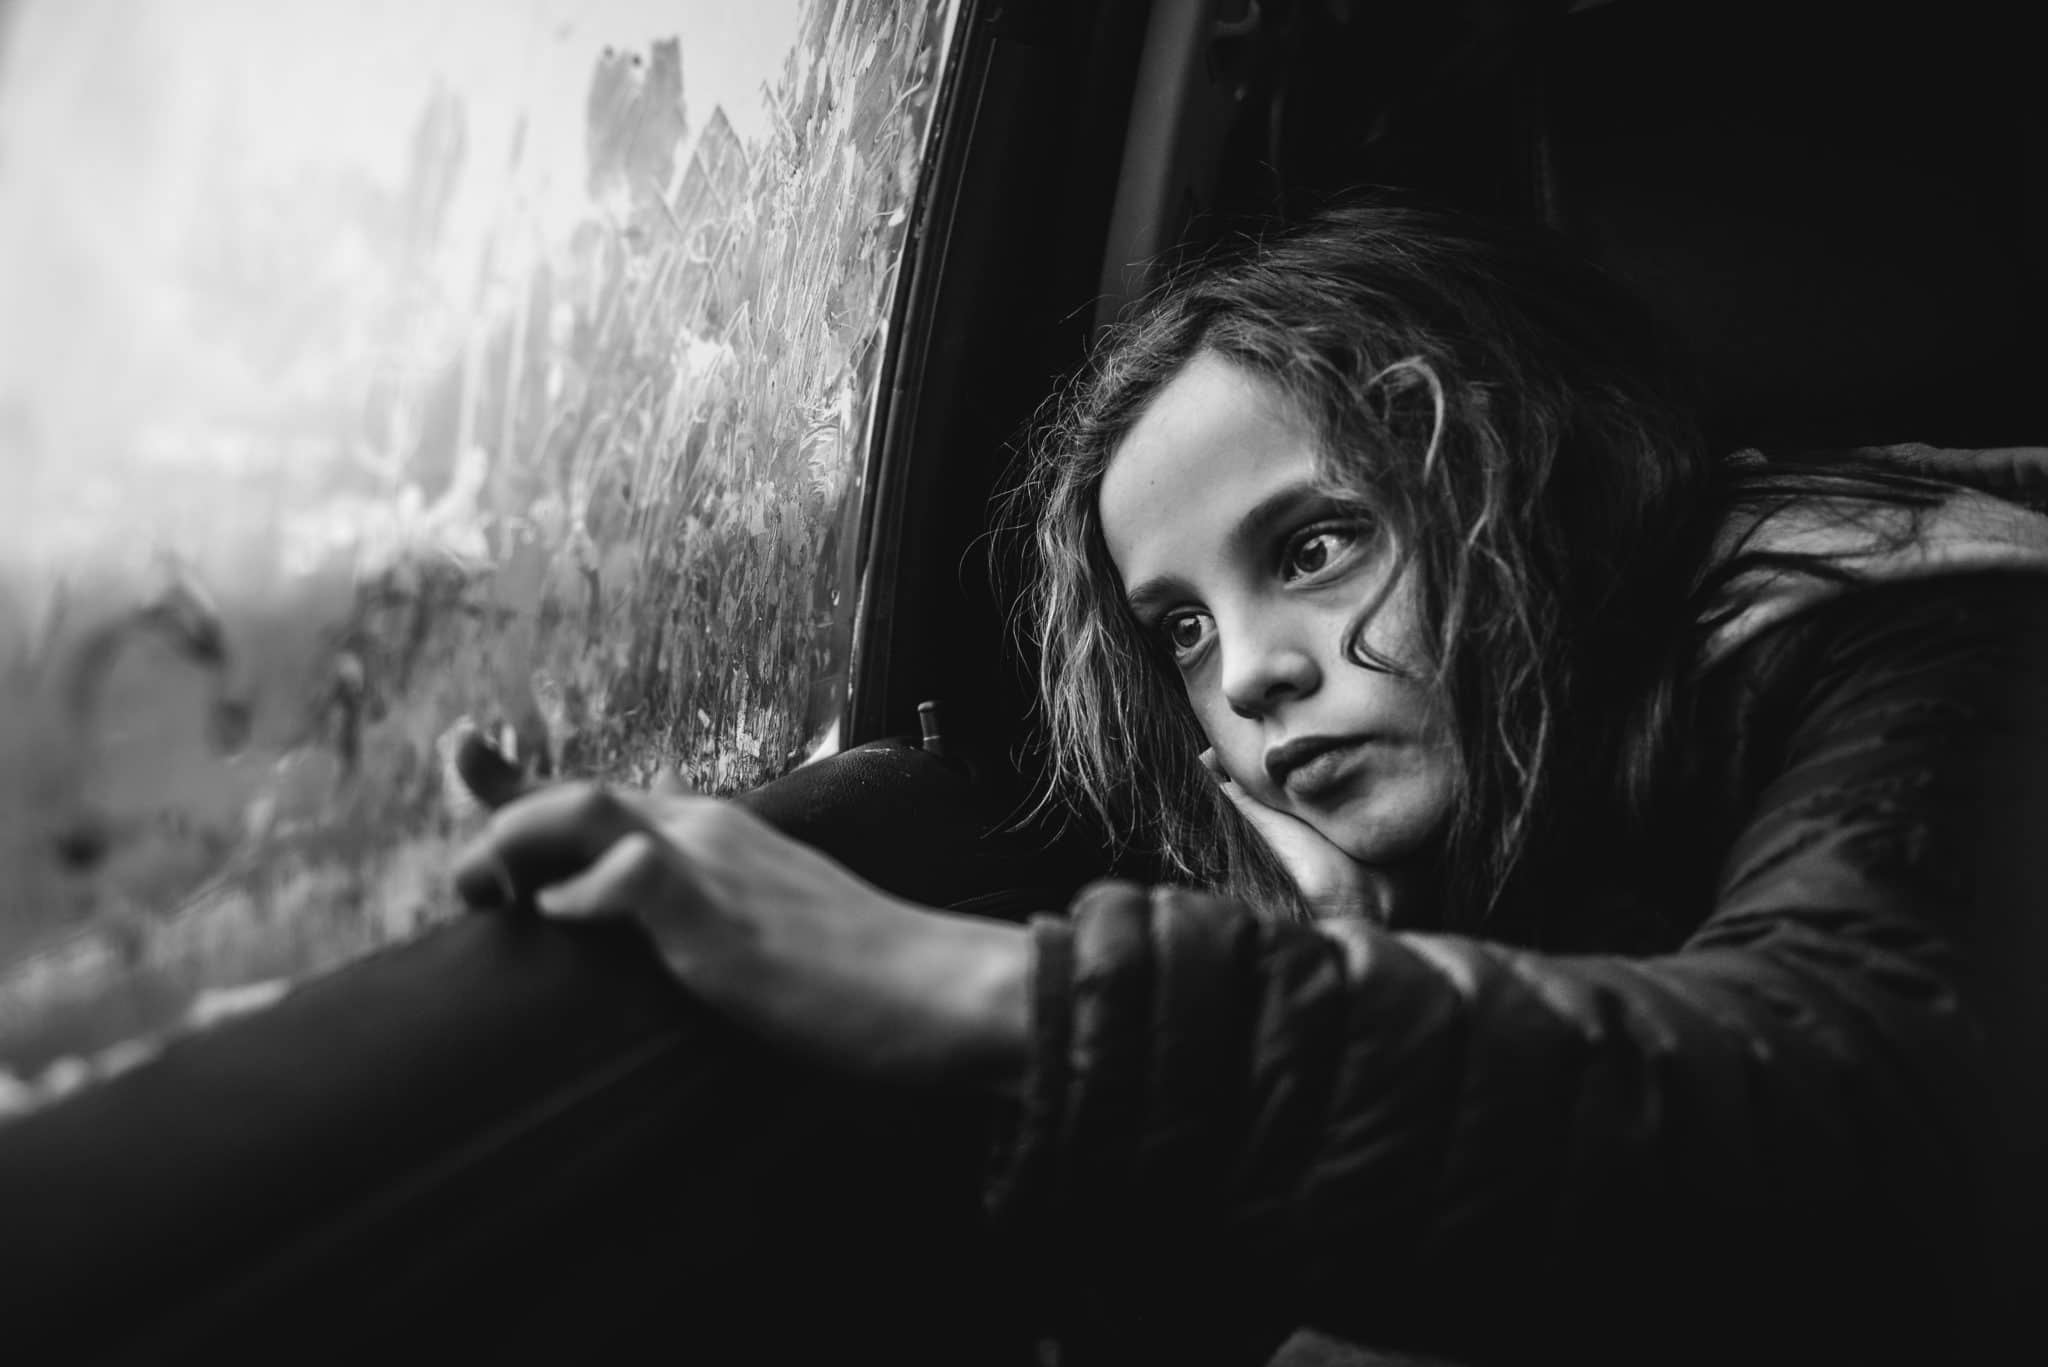
When shooting wide open with a shallow depth of field, you will use your focus point to select the point of interest for the image. This allows you the opportunity to not only get tack-sharp eyes, but you can use your focus points to get creative and land focus on story-telling elements such as whisps of hair or entwined hands.
As with all manual camera settings, it can take a little time to adjust to moving your focus point with every shot, but the difference in image sharpness, and focus accuracy is so significant that it is absolutely worth the practice.
To get accustomed to moving the focus box around quickly, try practicing while you are watching tv at night. Don’t worry about creating art – just keep moving your camera around your room and toggling the focus box to different objects within the room until it feels intuitive to place the focus box where you want it. The more you single point focus, the easier it will get!

2. Why Not To Choose Focus/Recompose
Sometimes people ask me about the center point focus and then recompose method. I am not a fan of this method, with the main reason being that if you are shooting wide open, it increases the chance that you will miss focus.
When you focus/recompose, most likely there is a slight change in distance between where the center point focus locked and where you place focus when you recompose. When shooting wide open (I usually prefer to shoot at 1.4-2.8), your depth of field is very narrow, so even a slight change in distance can lead to a miss in focus.
Further, center point focus usually grabs the object closest to the camera. In the case of a portrait this may be the nose, when in fact you want the focus to be on the eye.
So, while it may seem like one more step when you are already setting ISO, white balance, shutter speed and aperture on the fly with fast-moving subjects, it is absolutely worth it to switch to spot/single point focusing.
3. Set Your Camera To Continuous Focus
Once your camera knows where to focus, the next step is determining how it will focus. There are three options: Single, Continuous, and Manual. When photographing small children it is usually best to use continuous focus (AF-C for Nikon, and Al Servo for Canon) to ensure the focus can keep up with your fast moving subjects. For portraits and still life Single can potentially yield a sharper result, however, you may find is easier to always keep your focus on Continuous.
The only exception to this is when it is necessary to use Manual. Manual focus can be intimidating and it is certainly slower, but there are times it can help you get a shot the camera might otherwise struggle with. For example, if you are shooting into the sun, or you are up close with a macro lens, or even if you are working to capture a self-portrait, the automatic focus modes might struggle to lock focus. Switching to manual focus can help you override this to get the desired shot.

4. Set Up Back Button Focus
Back button focus works miracles by separating the focus and the shutter release, thus allowing you to focus and shoot almost simultaneously. This may not seem like much, but when photographing children, every millisecond of the moment matters.
For example, if you want to focus on the way a small child is holding on to her mother’s hand as they walk away from you, you can move the focus point to their hands, and then with your thumb holding down back button focus, AF-C will track focus on them even as they are walking. When you see the moment you want, press the shutter release and focus should be right where you want it.
If you are unsure how to set up back button focusing for your camera, there are many quick totals on YourTube depending on your camera model. I shoot on a D750 and to set up back button focus I only had to go into my camera’s menu and reassign the AE-L/AF-L button to back button focus.

5. Do A Focus Test
If you are trying each of the above and you are still missing focus, you might want to try setting up a controlled test to make sure focus is hitting where you intent it to.
Set up two to three objects at different distances from the camera (relatively in straight line), and fairly close to each other. It can also help if you set up a tape measure along this line running from your subject to where you are shooting from. The tape measure will help you see where focus hit in the event it didn’t hit where you expected it too. Then try focusing on each object individually and checking to be sure focus landed where you placed it.
If you are shooting with a Sigma lens, I recommend checking using their calibration doc, which I have outlined in this tutorial HERE.

Hope this helps!
0 Comments